Embroidery guide
Embroidery on Towels and Fleece: How to Stop Stitches Sinking
Machine embroidery on towels and fleece, step by step: stabilizer, topping, floating, placement and design size so stitches sit on top of the pile.
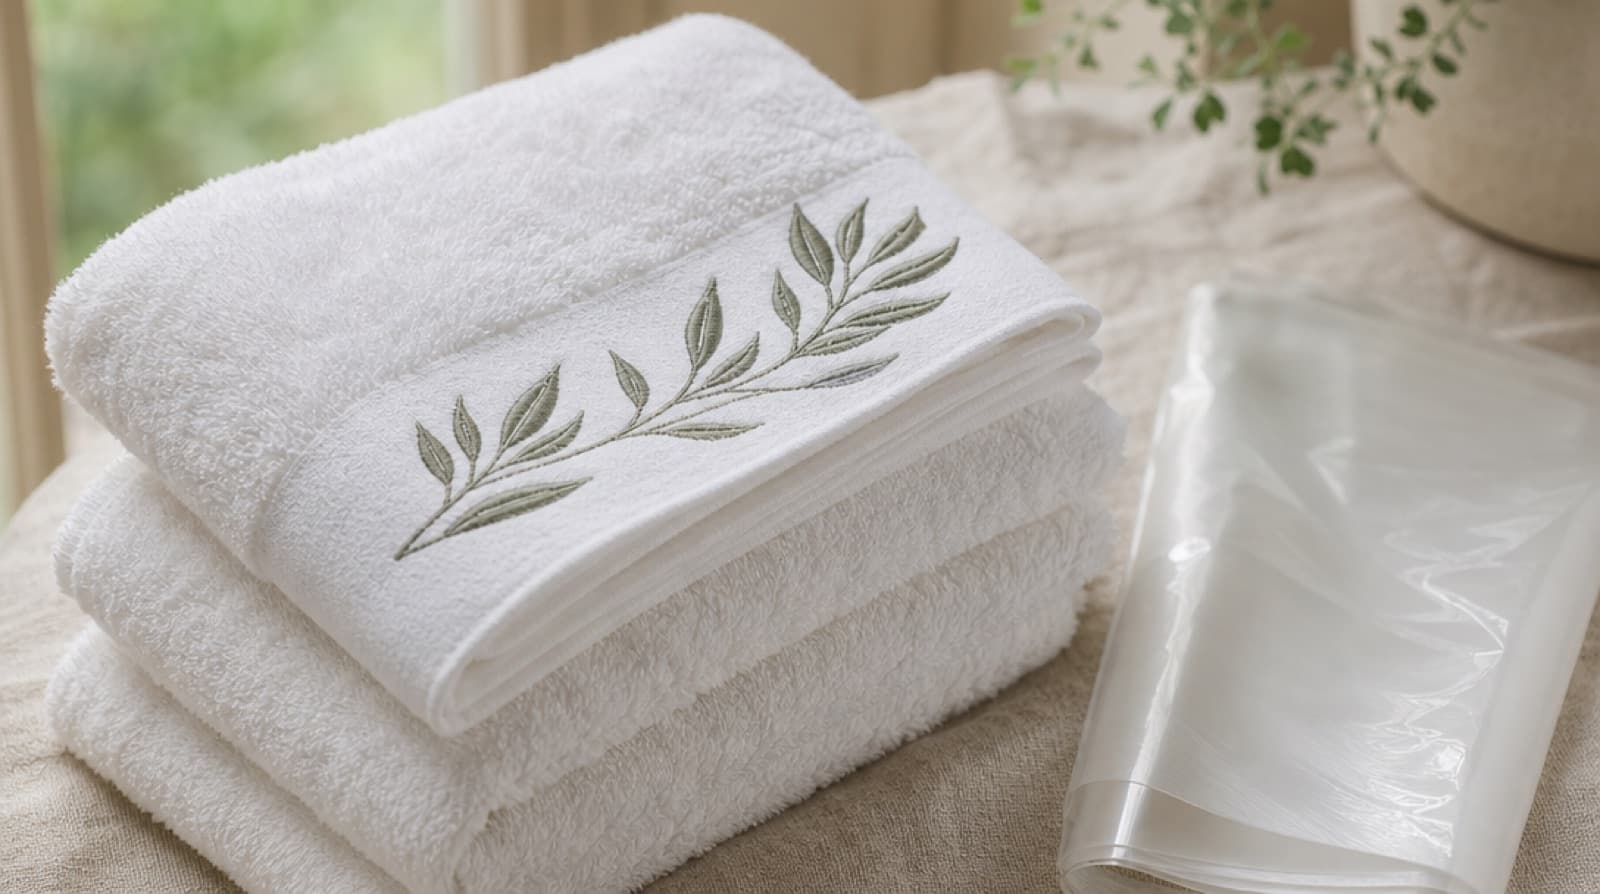
Short answer: Stitches sink into towels and fleece because the loops or nap push up between them. To stop it: use a design digitized for towel or fleece (stronger underlay, bold shapes, letters at least 7 mm tall), put tear-away stabilizer underneath, lay water-soluble topping on top, and float the towel on hooped stabilizer instead of clamping thick terry in the hoop. Test on a scrap towel first.
Embroidery on towels looks simple: a name, a monogram, a small logo. Then the first stitch-out comes off the machine and the letters are half-buried in the pile, with loops poking through the satin. Fleece does the same thing with its soft nap.
The fix isn't one trick. It's three things working together: the right file, the right layers, and the right hooping. This guide covers all three: how to embroider towels step by step, where to place the design, and how to embroider fleece.
Machine embroidery on towels is very forgiving once those three are right.
Why stitches sink into towels and fleece
Terry cloth (the fabric most towels are made of) is a base weave with thousands of small loops standing up from it. Fleece is a knit with a brushed, fluffy surface called the nap. Both have a deep, soft top layer.
When the needle sews into that layer, the thread pulls down between the loops. The loops spring back up between the stitches. Thin lines disappear, satin edges look ragged, and small text becomes unreadable.
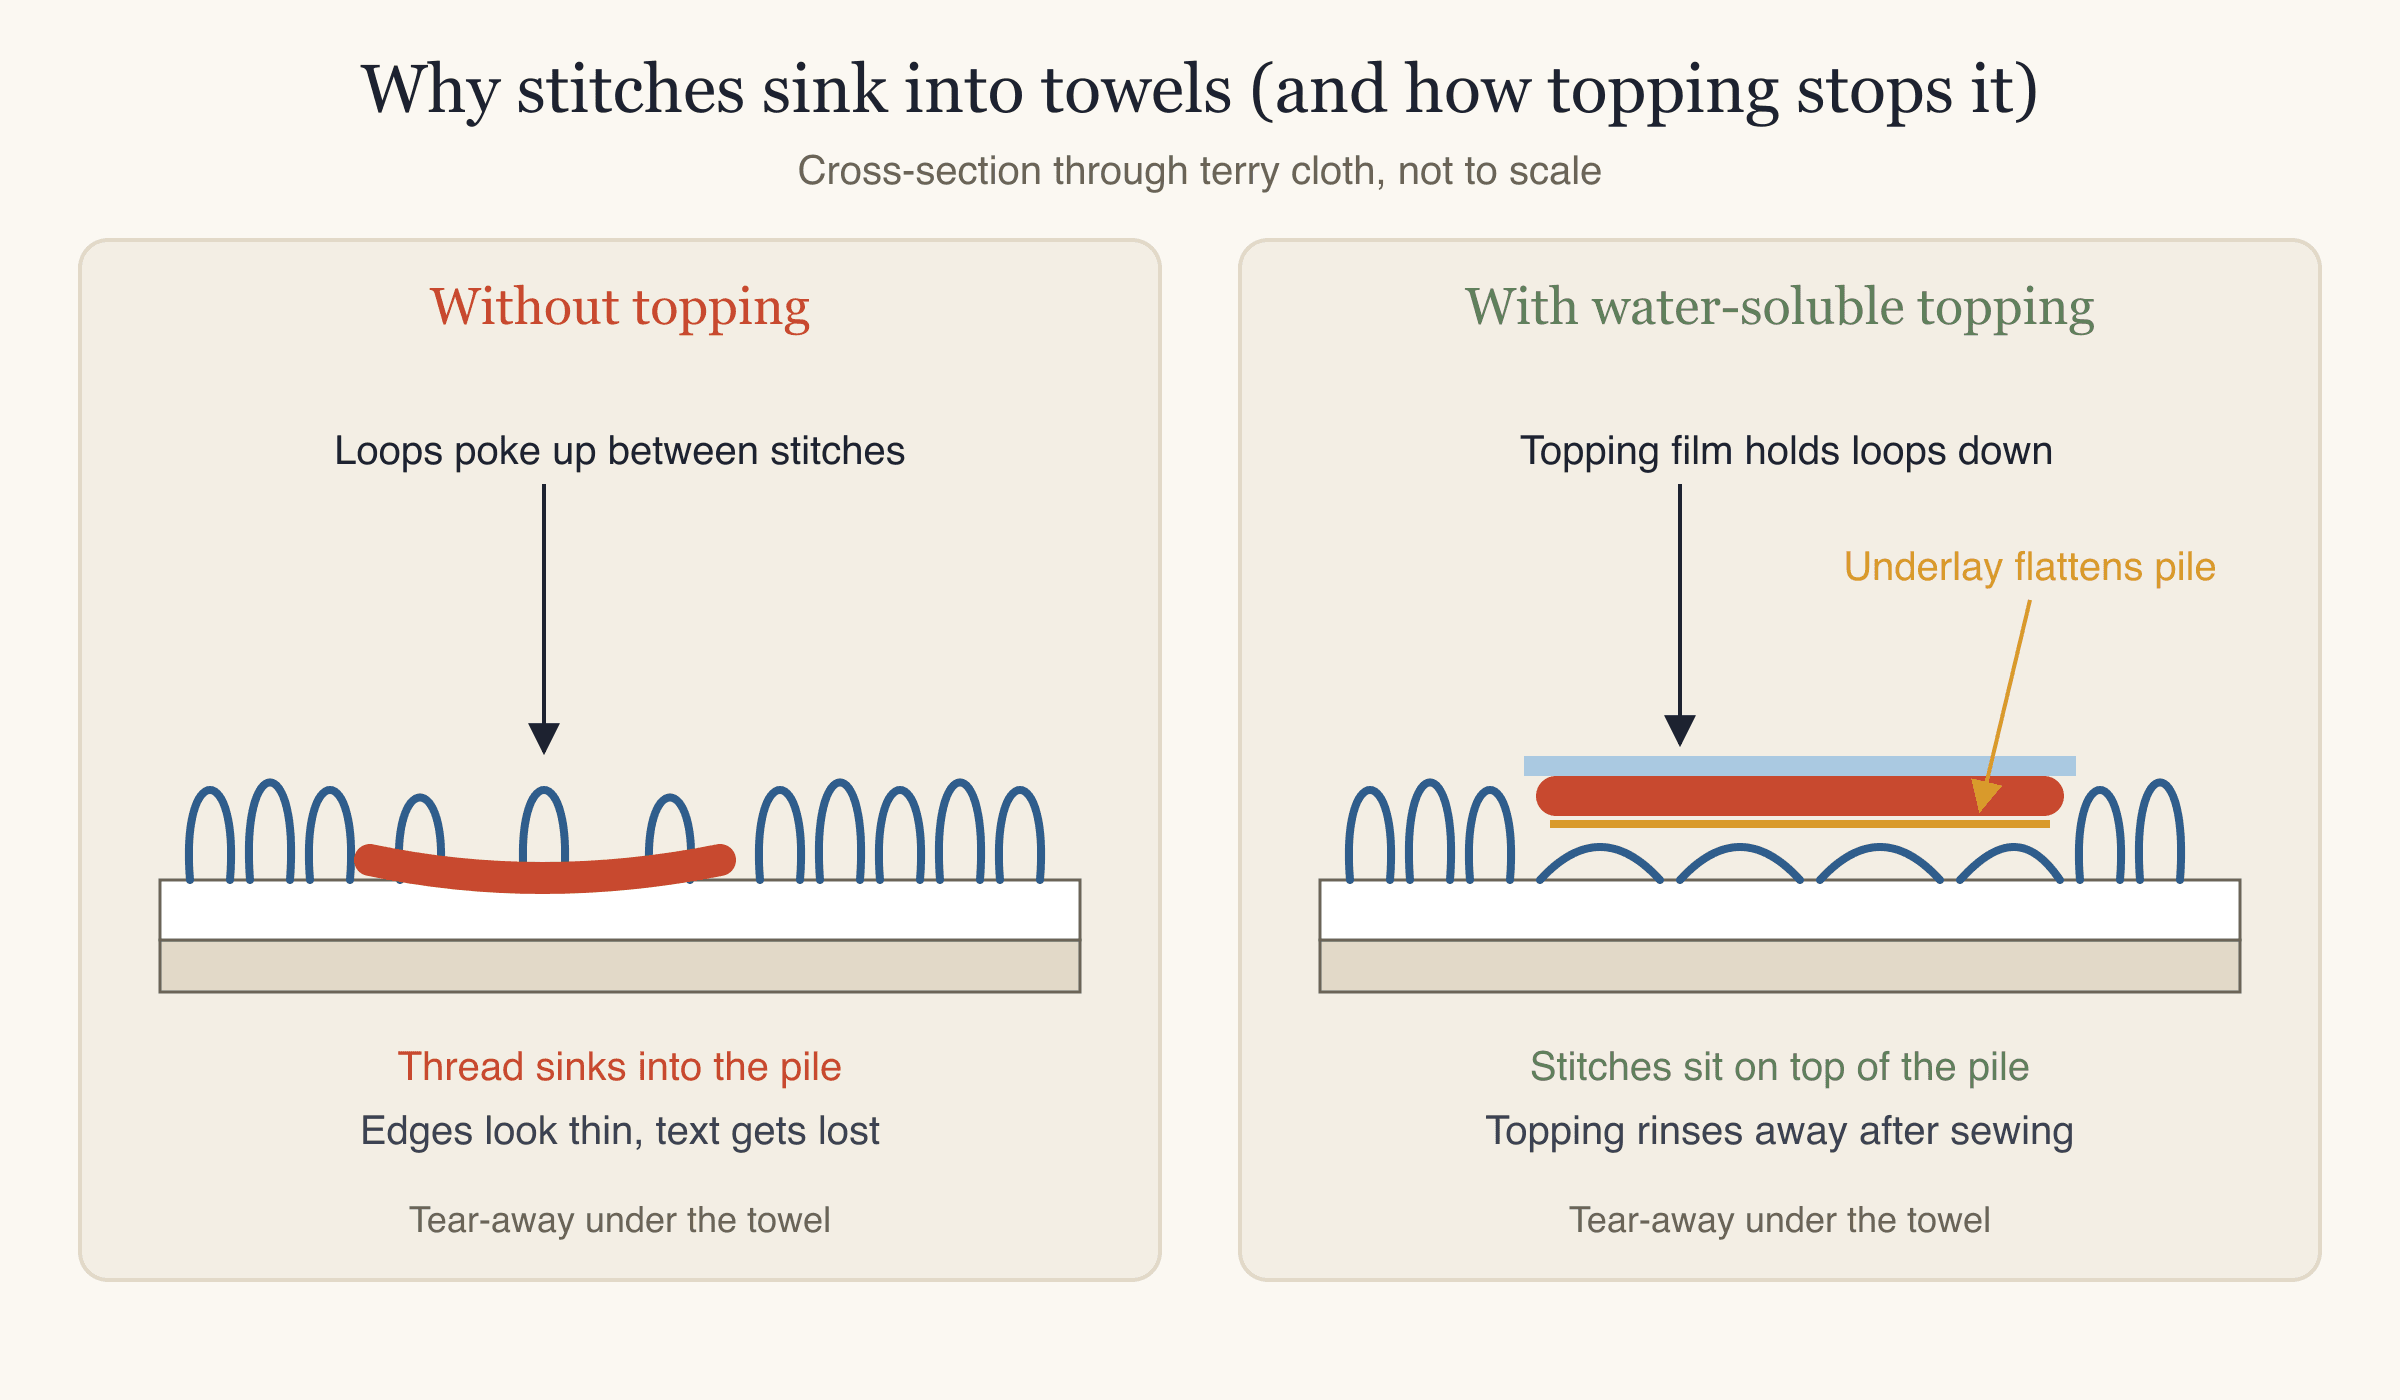
Two things fix this:
- Water-soluble topping: a thin clear film laid on top of the fabric. It holds the loops down while the machine sews, so stitches sit on top. Afterward, you tear away the excess and rinse off the rest.
- Underlay: stitches sewn first, under the visible design, that flatten the pile and give the top stitches a firm base. This is part of the embroidery file, so it has to be digitized for the fabric.
What you need
| Item | What to use | Why |
|---|---|---|
| Stabilizer (the backing under the fabric) | Tear-away, medium or heavy, for towels. Cut-away for stretchy fleece. | Supports the stitches; tear-away comes off cleanly so the back of the towel stays soft. |
| Topping | Water-soluble film | Keeps stitches on top of the pile. |
| Needle | A new embroidery needle; 75/11 is common, a 90/14 can help on thick towels | A sharp needle punches cleanly through dense terry. |
| Thread | 40 wt embroidery thread; polyester stands up well to frequent washing | Towels get washed often and hot. |
| Temporary spray adhesive or pins | Any temporary embroidery spray, or straight pins outside the stitch area | Holds the towel to the stabilizer when floating. |
| Marking tool | Water-soluble marking pen or chalk | Marks the center and placement lines. |
| Scrap towel | An old towel of similar thickness | For the test stitch-out. |
For more on stabilizer weights and types, see the embroidery stabilizer guide.
Choosing a design that stitches well on towels
The design matters as much as the hooping. Some designs simply don't work on a deep pile.
Works well:
- Bold shapes with fill stitches and underlay.
- Monograms and names in satin lettering (smooth, shiny zigzag stitches).
- Simple logos with a few solid colors.
Struggles:
- Thin running-stitch lines (single lines of stitches). They vanish into the loops.
- Small lettering. On towels and fleece, letters should be at least about 7 mm tall, larger than the 5 mm that works on woven fabric. See embroidery lettering and fonts.
- Tiny details and light, open fills that let loops poke through.
Some digitizers also add a "knockdown" layer: a light, open fill sewn under the whole design area to flatten the pile before the design itself. It's useful on very deep pile, but on most bath and hand towels, topping plus a design with solid underlay is enough.
Getting a towel-ready file
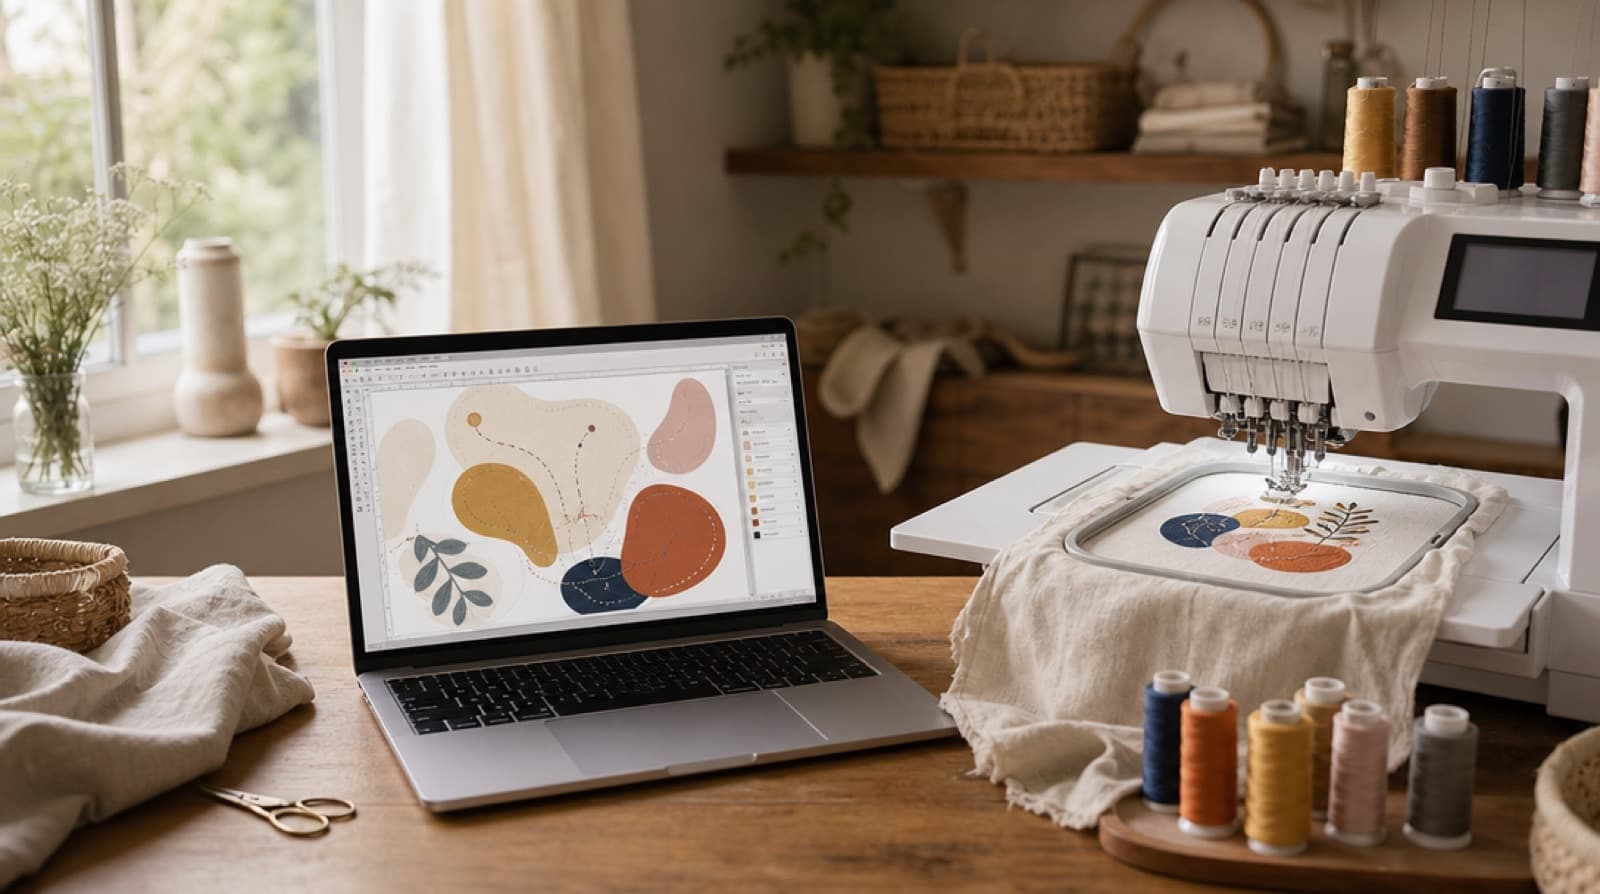
If you're making your own file from a logo or artwork, the fabric setting is the step that matters. In StitchFile, choose Towel & fleece as the fabric when you upload. That setting tunes stitch density and pull compensation for plush fabric, recommends tear-away plus a water-soluble topping, and warns you if any lettering is under the 7 mm minimum for towels, with a size that would work.
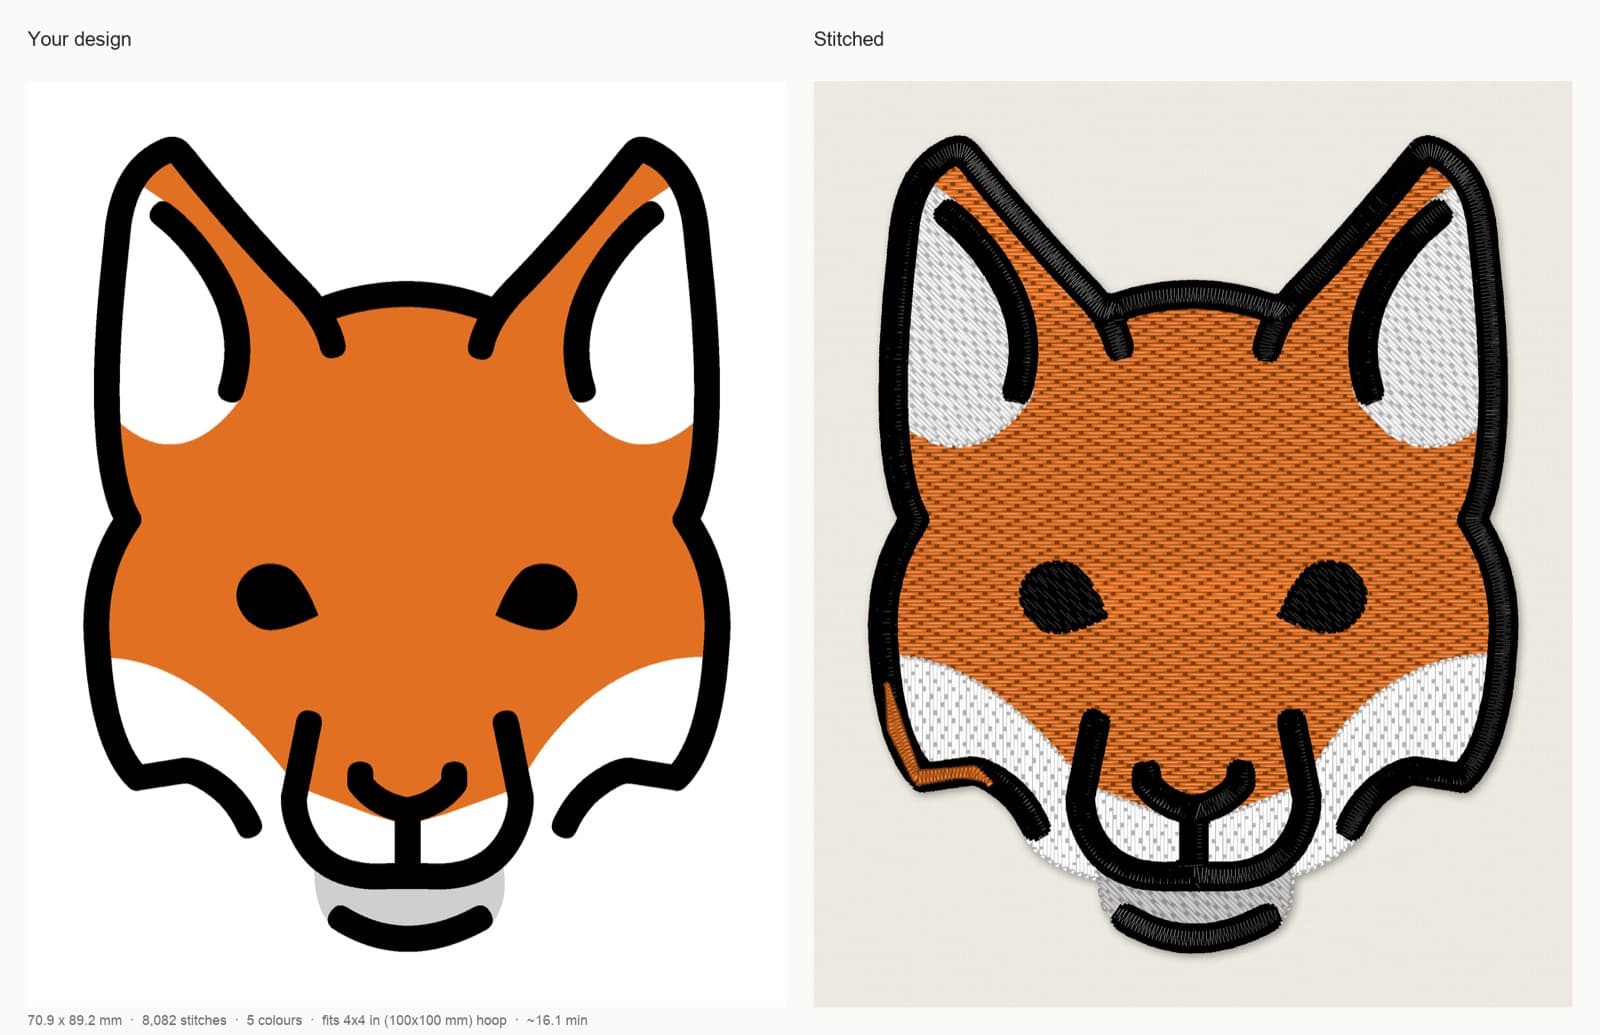
Artwork: OpenMoji fox, CC BY-SA 4.0. StitchFile converted the artwork into the stitch preview shown here; these adaptations are shared under the same license.
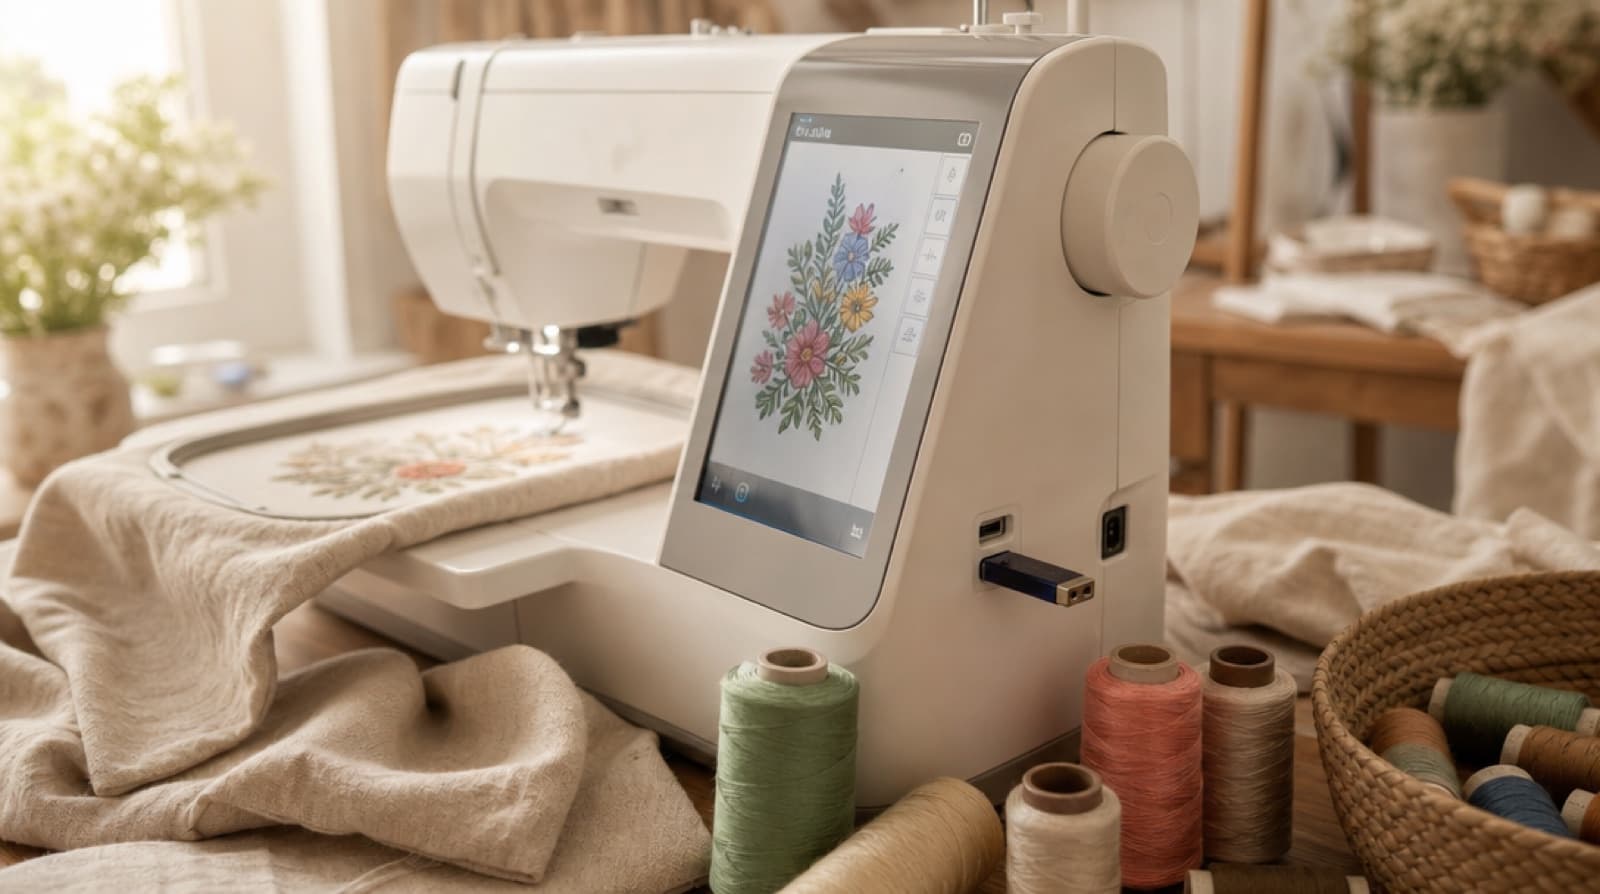
The download includes PES, DST, JEF, EXP and VP3, so it works whether you sew on a Brother (PES), Janome (JEF) or a commercial multi-needle machine (DST). Check that the design fits your hoop first: the preview shows the smallest hoop it needs. For hoop sizes, see embroidery hoop sizes.
Where to place embroidery on towels
Towels hang folded, so the design has to land where people will see it.
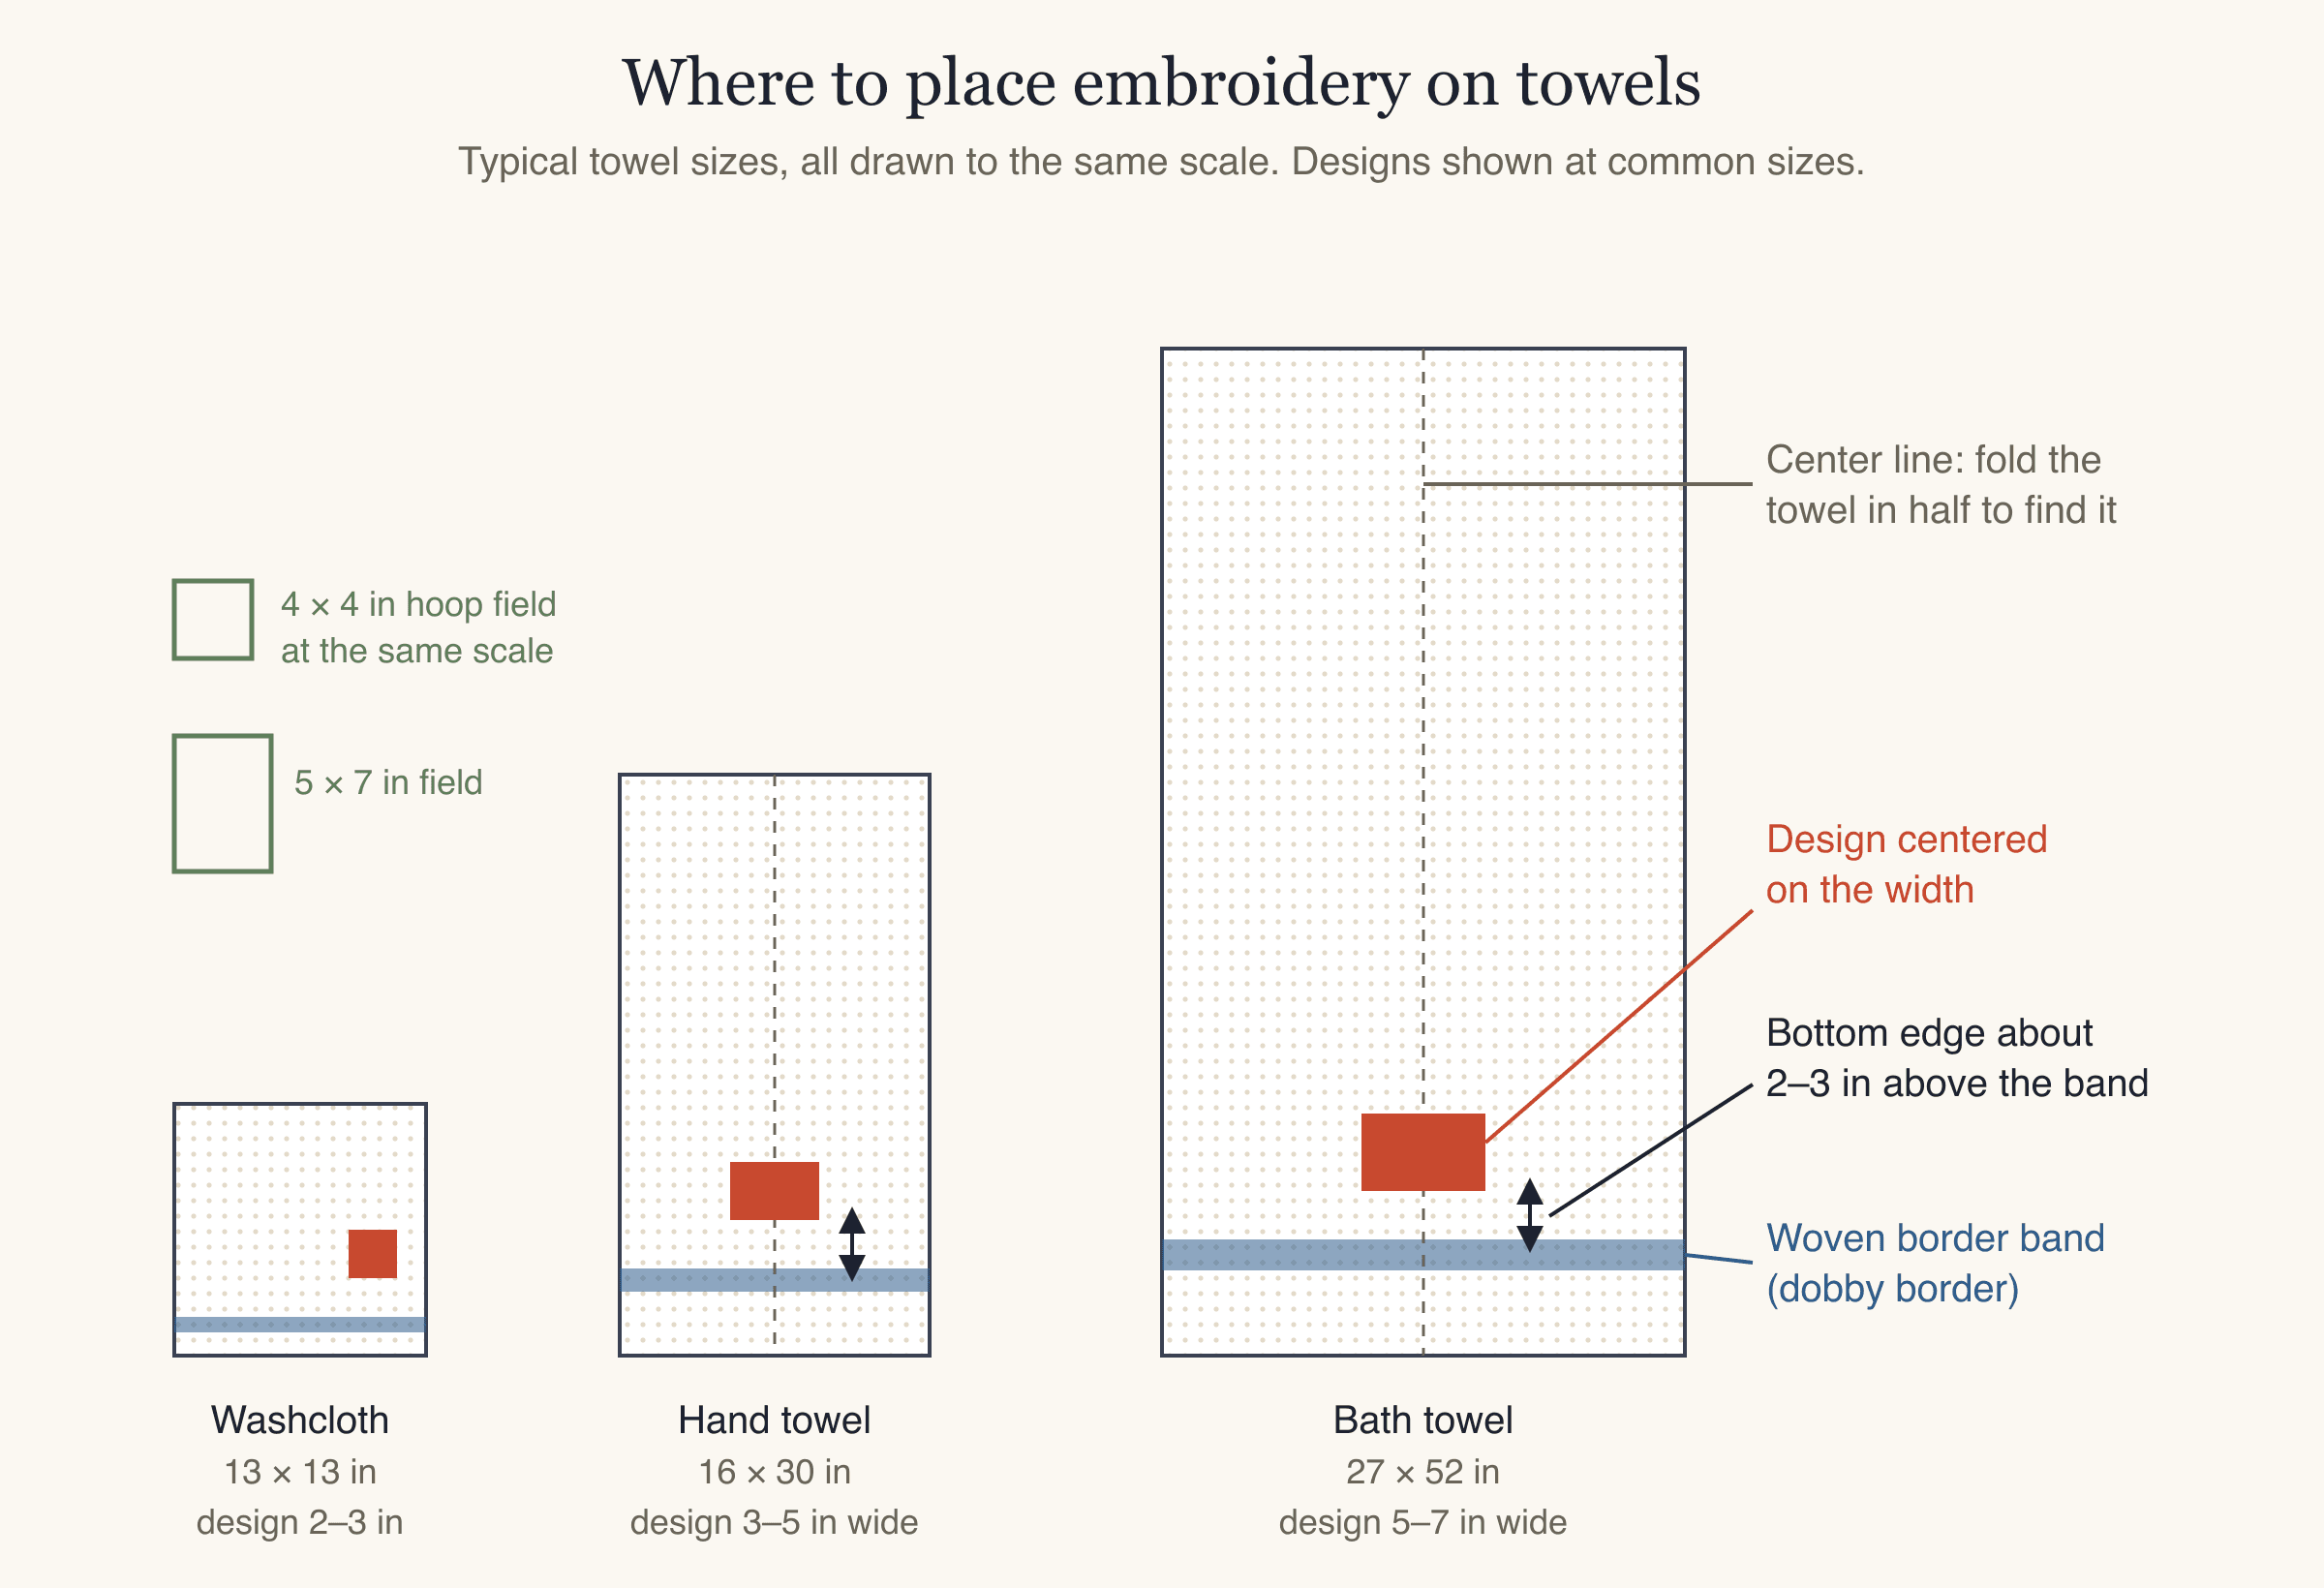
| Towel | Typical size | Typical design size | Placement |
|---|---|---|---|
| Washcloth | 13 × 13 in | 2–3 in | One corner, or centered |
| Hand towel | 16 × 30 in | 3–5 in wide | Centered on the width, bottom edge about 2–3 in above the border band |
| Bath towel | 27 × 52 in | 5–7 in wide | Centered on the width, bottom edge about 2–3 in above the border band |
Towel sizes vary by brand, so measure yours. The border band (also called the dobby border) is the flat woven stripe near each end of many towels. Placing the design above it, rather than on it, keeps it on the loop pile where it stitches evenly. If the towel will hang folded in thirds lengthwise, keep the design within the middle third.
To find the center, fold the towel in half lengthwise and crease it, or mark the fold with a water-soluble pen. Mark a horizontal line where the bottom of the design should sit.
How to embroider a towel, step by step
This is the floating method. Floating means you hoop only the stabilizer and attach the towel on top, instead of clamping the towel in the hoop. It avoids hoop burn (rings of crushed pile left by the hoop) and works with towels too thick to hoop well.
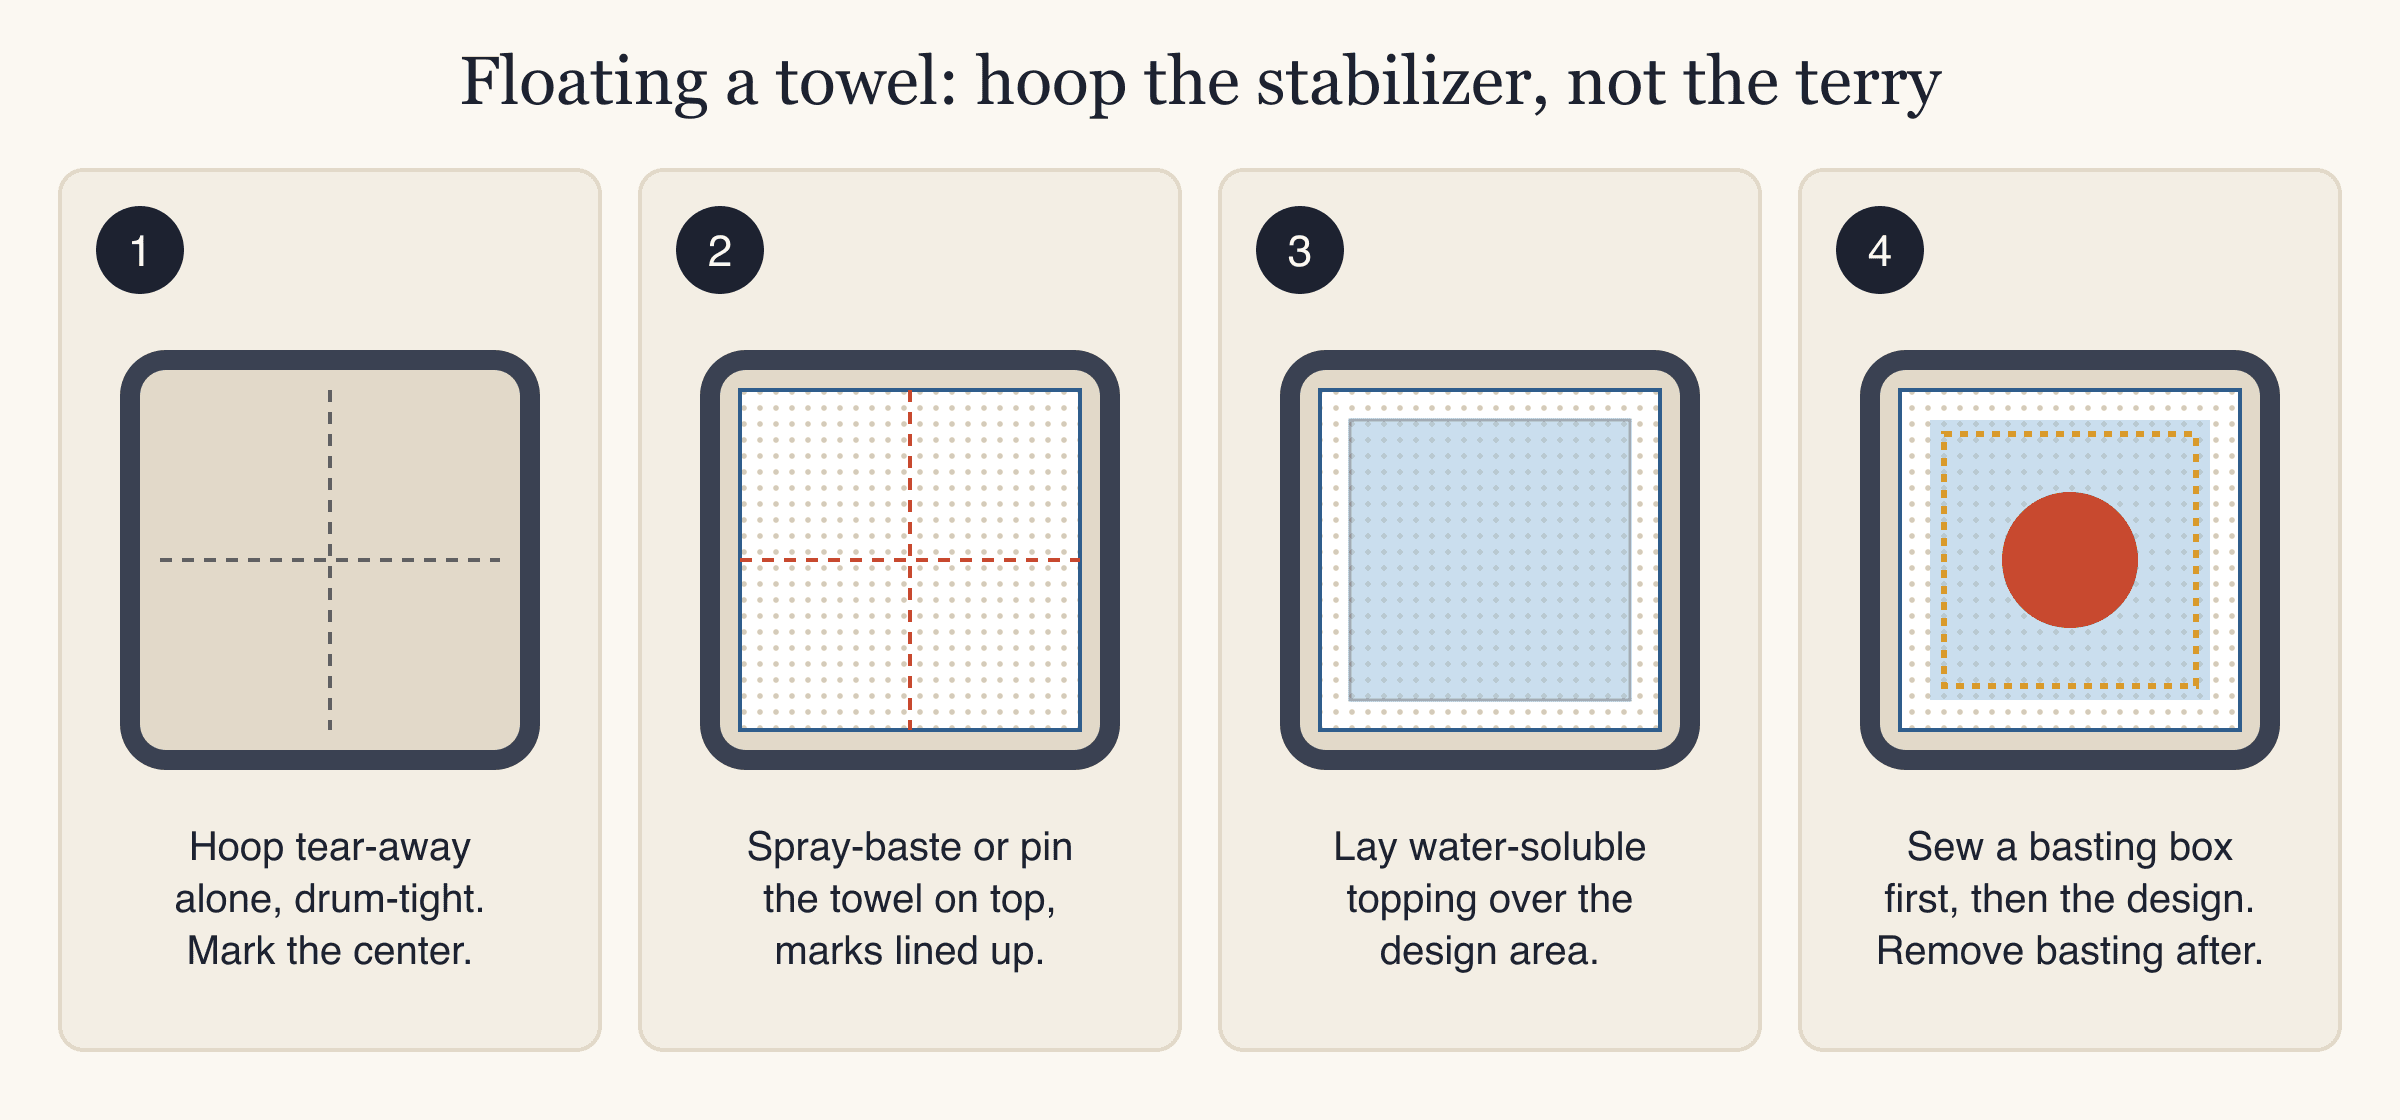
- Prepare the file. Use a design digitized for towels, sized to fit both the towel and your hoop. Load it on the machine and check its orientation on screen.
- Mark the towel. Mark the center point and a vertical and horizontal placement line with a water-soluble pen.
- Hoop the stabilizer alone. Hoop tear-away stabilizer drum-tight (firm and flat, like a drum skin). Mark the center of the hoop on the stabilizer.
- Attach the towel. Spray the stabilizer lightly with temporary adhesive, or pin around the edges outside the stitch area. Lay the towel on top, lining up its marks with the hoop's center marks. Smooth it out, but don't stretch it.
- Add topping. Lay a piece of water-soluble topping over the design area, a bit larger than the design.
- Sew a basting box. Many machines have a basting function that sews a large running-stitch box around the design first. This holds the towel, stabilizer and topping together. If yours doesn't, pin carefully outside the design area.
- Sew the design. Slowing the machine down a little can help on thick towels. Watch the first color: if the towel starts to drag or shift, stop and secure it.
- Remove the basting stitches, then unhoop.
- Tear away the stabilizer from the back, holding the stitches with your thumb so you don't pull them.
- Remove the topping. Tear away the excess, then dab the rest with a damp cloth or rinse it in water until it dissolves. Let the towel dry flat.
If your towel is thin enough to hoop without crushing the pile, you can hoop the towel and stabilizer together instead of floating. Keep the topping either way.
How to embroider fleece
Embroidery on fleece follows the same idea, with a few changes because fleece is a knit and it stretches.
- Choose the stabilizer for the stretch. For stretchy fleece (hoodies, sweatshirts, blankets with give), cut-away stabilizer supports the design through washing and wear. Thick, stable blanket fleece can work with tear-away.
- Don't stretch the fleece when hooping. Hoop it smooth but relaxed, or float it on hooped stabilizer as above. Fleece that's stretched in the hoop springs back after unhooping and the design puckers.
- Use topping. The nap behaves like towel loops; topping keeps stitches on top.
- Keep lettering bold. The same 7 mm minimum applies.
- Be careful with heat. Don't iron directly on fleece; heat can flatten or melt the nap. If you need to press, use low heat and a press cloth from the back.
For more on embroidering stretchy fabrics, see machine embroidery on T-shirts.
Common mistakes with towel and fleece embroidery
| Mistake | What you see | Fix |
|---|---|---|
| No topping | Loops poking through satin, thin edges | Always use water-soluble topping on the right side. |
| File made for woven fabric | Sunken, patchy fills | Re-digitize with a towel or fleece setting so underlay and density suit the pile. |
| Lettering under 7 mm | Unreadable names | Make the text bigger or use bolder satin lettering. |
| Clamping a thick towel in the hoop | Hoop burn, towel pops out mid-sew | Float the towel on hooped stabilizer. |
| Stretching fleece in the hoop | Puckering after unhooping | Hoop relaxed, or float it; cut-away for stretchy fleece. |
| Design on the border band | Uneven stitching where the pile changes | Place the design above the band. |
| Pulling stabilizer away hard | Distorted stitches | Hold the stitches with your thumb and tear gently. |
| Skipping the test | Surprises on the good towel | Test on a scrap towel of the same thickness. |
Still seeing gaps, puckering or thread breaks? The machine embroidery troubleshooting guide covers the causes one by one.
FAQ
What stabilizer is best for embroidery on towels?
Tear-away stabilizer underneath, medium or heavy, plus water-soluble topping on top. Tear-away removes cleanly so the back of the towel stays soft. For very thick towels or dense designs, use the heavier weight.
Do I need topping when embroidering towels?
Yes, for almost every design. Without topping, the loops push up between the stitches and thin lines and small letters get lost. The topping rinses away after sewing.
How do you keep embroidery from sinking into a towel?
Use topping on top, a design with solid underlay digitized for towels, and bold shapes and lettering at least 7 mm tall. Floating the towel instead of crushing it in the hoop also helps the pile stay even.
Can you hoop a towel for machine embroidery?
Thin towels can be hooped with the stabilizer. Thick bath towels are usually floated: you hoop only the stabilizer and attach the towel on top with spray adhesive, pins or a basting box. Floating avoids hoop burn and slipping.
How big should a towel monogram be?
On a hand towel, about 3–5 in wide is typical; on a bath towel, about 5–7 in wide. Check the size fits your hoop, and keep individual letters at least 7 mm tall.
What stabilizer should I use for embroidery on fleece?
Cut-away for stretchy fleece such as hoodies and sweatshirts, because it keeps supporting the design through wear and washing. Thick, stable blanket fleece can work with tear-away. Use water-soluble topping on top in both cases.
Make your towel design
If you're starting from a logo, monogram artwork or illustration, upload it at stitchfile.app/convert and choose Towel & fleece as the fabric. You'll get a free stitch preview in about 20 seconds, a warning if any lettering is too small for towels, and the hoop it needs, with PES, DST, JEF, EXP and VP3 included if you download.