Embroidery guide
Polo Shirt Embroidery: Stabilizer, Placement and Hooping Guide
Polo shirt embroidery step by step: cut-away and topping for pique, left chest placement and size, hooping around the placket, and uniform order tips.
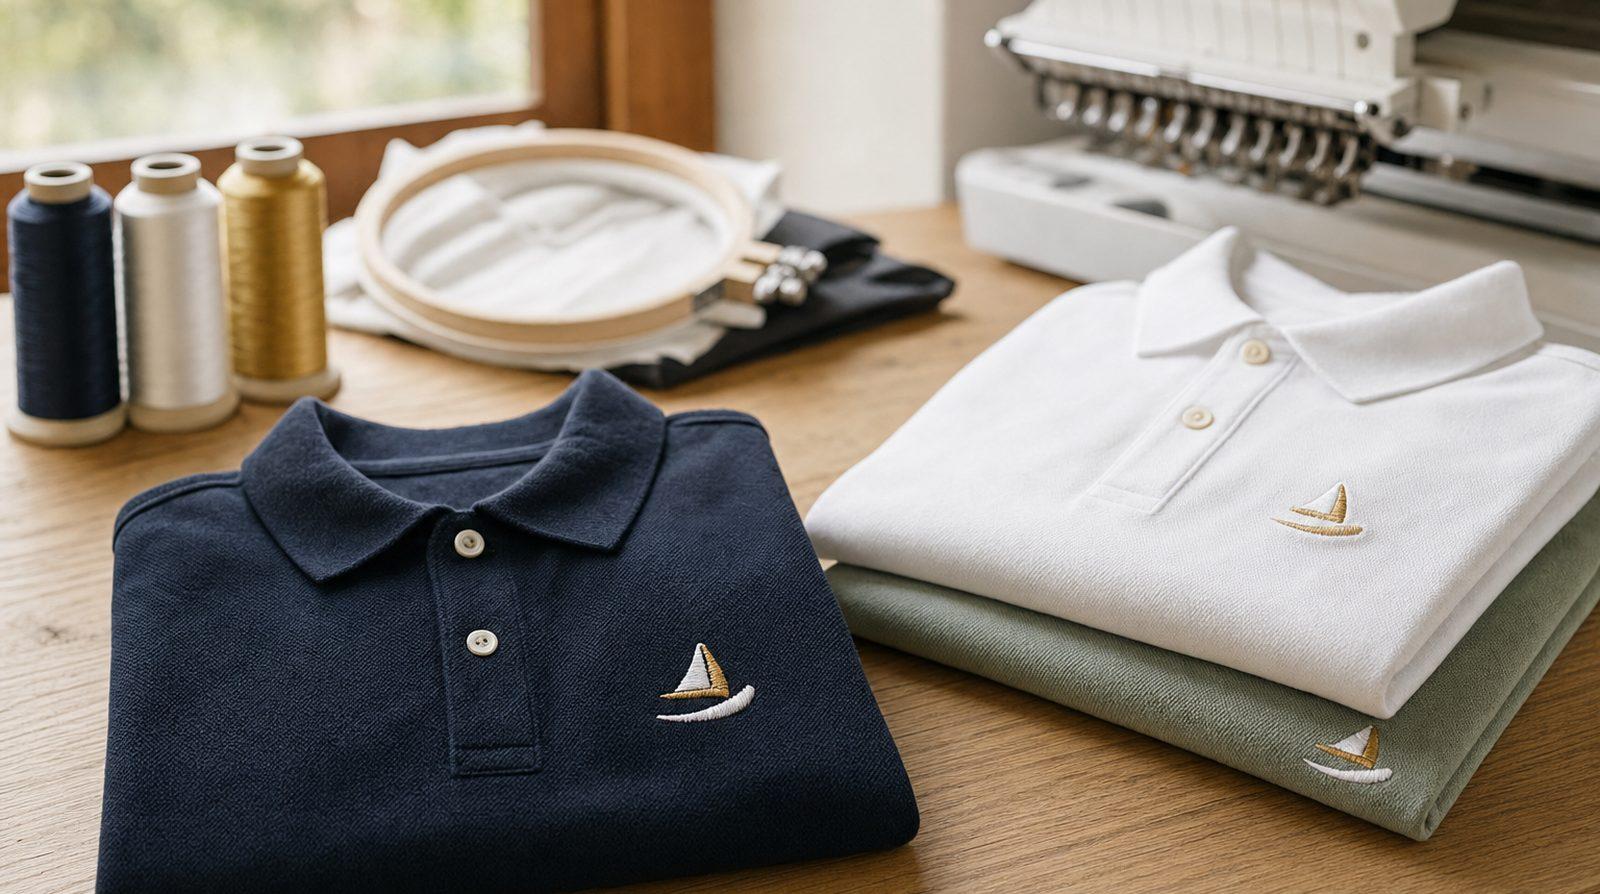
Quick answer: For polo shirt embroidery, back the pique with cut-away stabilizer (no-show mesh on light polos, medium cut-away on heavier ones) and lay water-soluble topping on top so stitches don't sink into the texture. Use a 75/11 ballpoint needle. Make a left chest logo 75–90 mm (3–3.5 in) wide, centered 7–9 in below the high point shoulder and midway between the placket and the armhole seam. Keep letters at least 6 mm tall, avoid heavy solid fills, and unbutton the placket before you hoop.
Polo shirt embroidery is the core of most logo work: staff uniforms, golf clubs, schools, teams. A polo is not a T-shirt, though. Its fabric has a raised texture that swallows stitches, it stretches like any knit, and the buttoned placket sits right next to the logo.
This guide covers what's specific to polos, from pique and topping to uniform orders. For placement on other garments, see our logo placement and size guide.
What pique is, and why polo embroidery is tricky
Pique (also written piqué) is the classic polo fabric. It's a knit, like a T-shirt, but with a pattern that leaves small raised cells and sunken channels on the surface, a bit like a fine waffle or honeycomb.
That texture causes the main problems with embroidery on polo shirts:
- Stitches sink. Thread drops into the channels, satin edges look ragged and small letters blur.
- It stretches. Dense stitching pulls the knit in, and the fabric around the logo waves or puckers.
- The placket gets in the way. The thick buttoned strip makes it hard to get the front flat in the hoop.
- Two very different fabrics. Cotton pique is soft and fairly stable. Performance polyester is thin, slippery, heat-sensitive and shows hoop marks.
What you need
| Item | Light or performance polo | Heavier cotton pique polo |
|---|---|---|
| Stabilizer (under) | No-show mesh cut-away | Medium cut-away |
| Topping (on top) | Water-soluble topping | Water-soluble topping |
| Needle | Ballpoint, 75/11 (70/10 on thin polyester) | Ballpoint, 75/11 |
| Thread | 40 wt polyester or rayon embroidery thread | Same |
| Holding layers | Temporary spray adhesive | Spray adhesive or fusible cut-away |
| Marking | Water-soluble pen, ruler, paper template | Same |
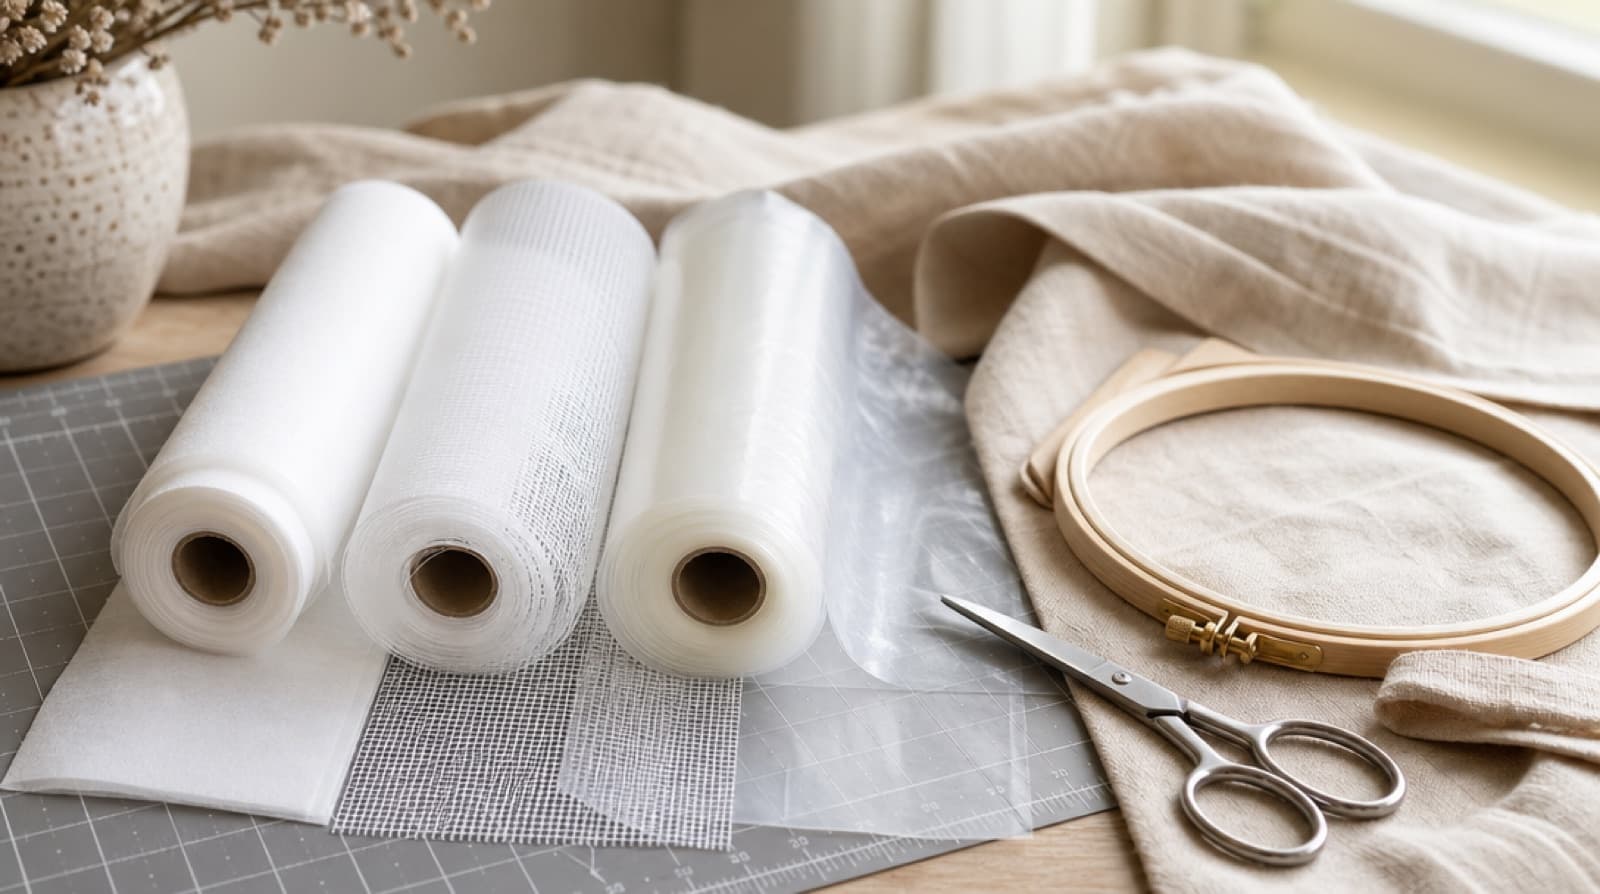
Stabilizer is the backing hooped under the fabric. Topping is a thin film laid on top; the water-soluble kind tears away and the rest dissolves in water.
Stabilizer, topping and needle for embroidery on polo shirts
Tear-away is the most common polo mistake: once it's torn off nothing holds the stitches, and the knit stretches out around the logo after a few washes. Cut-away stays in the shirt for good, so use it on every polo (our embroidery stabilizer guide explains the types):
- Light cotton pique and performance polyester: no-show mesh. It's soft and doesn't show through pale polos.
- Heavier cotton or blend pique, or larger designs: medium cut-away for firmer support.
Then add water-soluble topping whenever the design has small lettering, thin satin borders or fine detail. Many embroiderers use it on every pique polo, because even a plain fill looks cleaner on top of the texture.
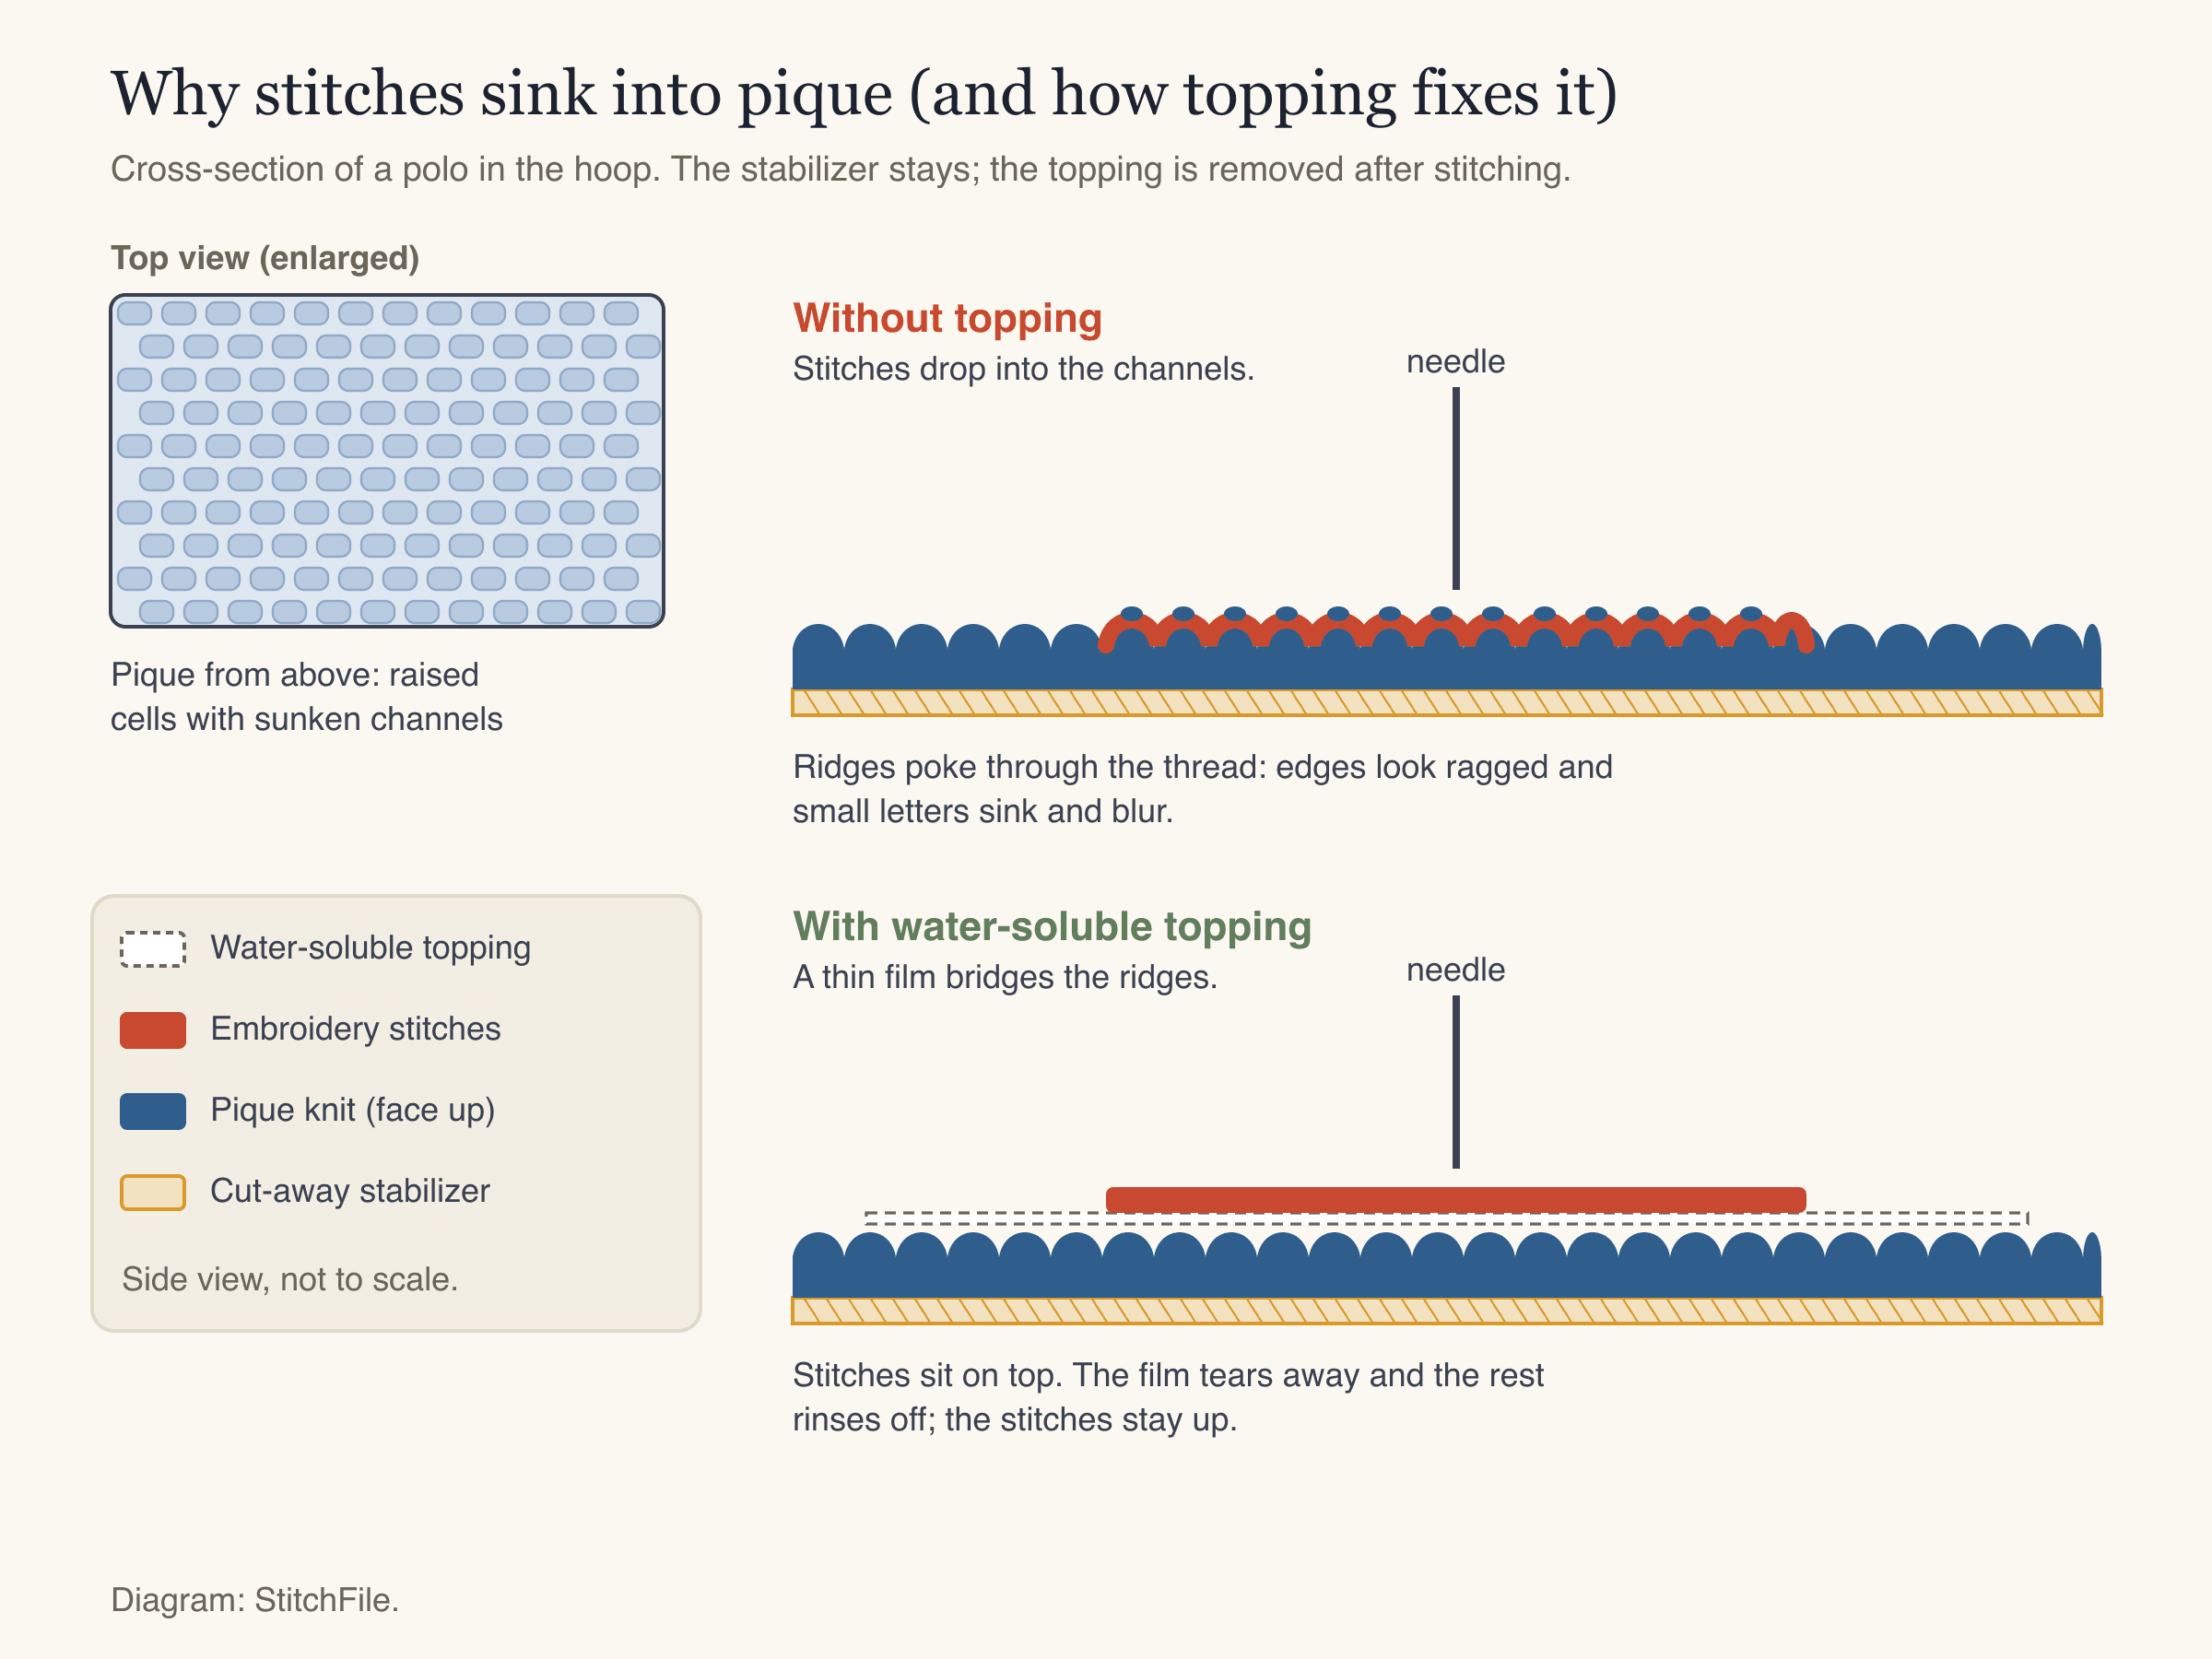
Without topping, the thread drops into the channels and the ridges show through. With topping, the stitches form on a flat surface and stay up after the film is removed.
For the needle, use a ballpoint 75/11. Its rounded tip pushes between the knit loops instead of cutting them, which prevents small holes around the logo. Start every order with a fresh one.
Polo shirt embroidery placement: left chest, sleeve and back yoke
The left chest is the standard spot for embroidered polo shirts. The measurements match a T-shirt's, and a polo gives you two extra landmarks to check them: the placket and the bottom button.
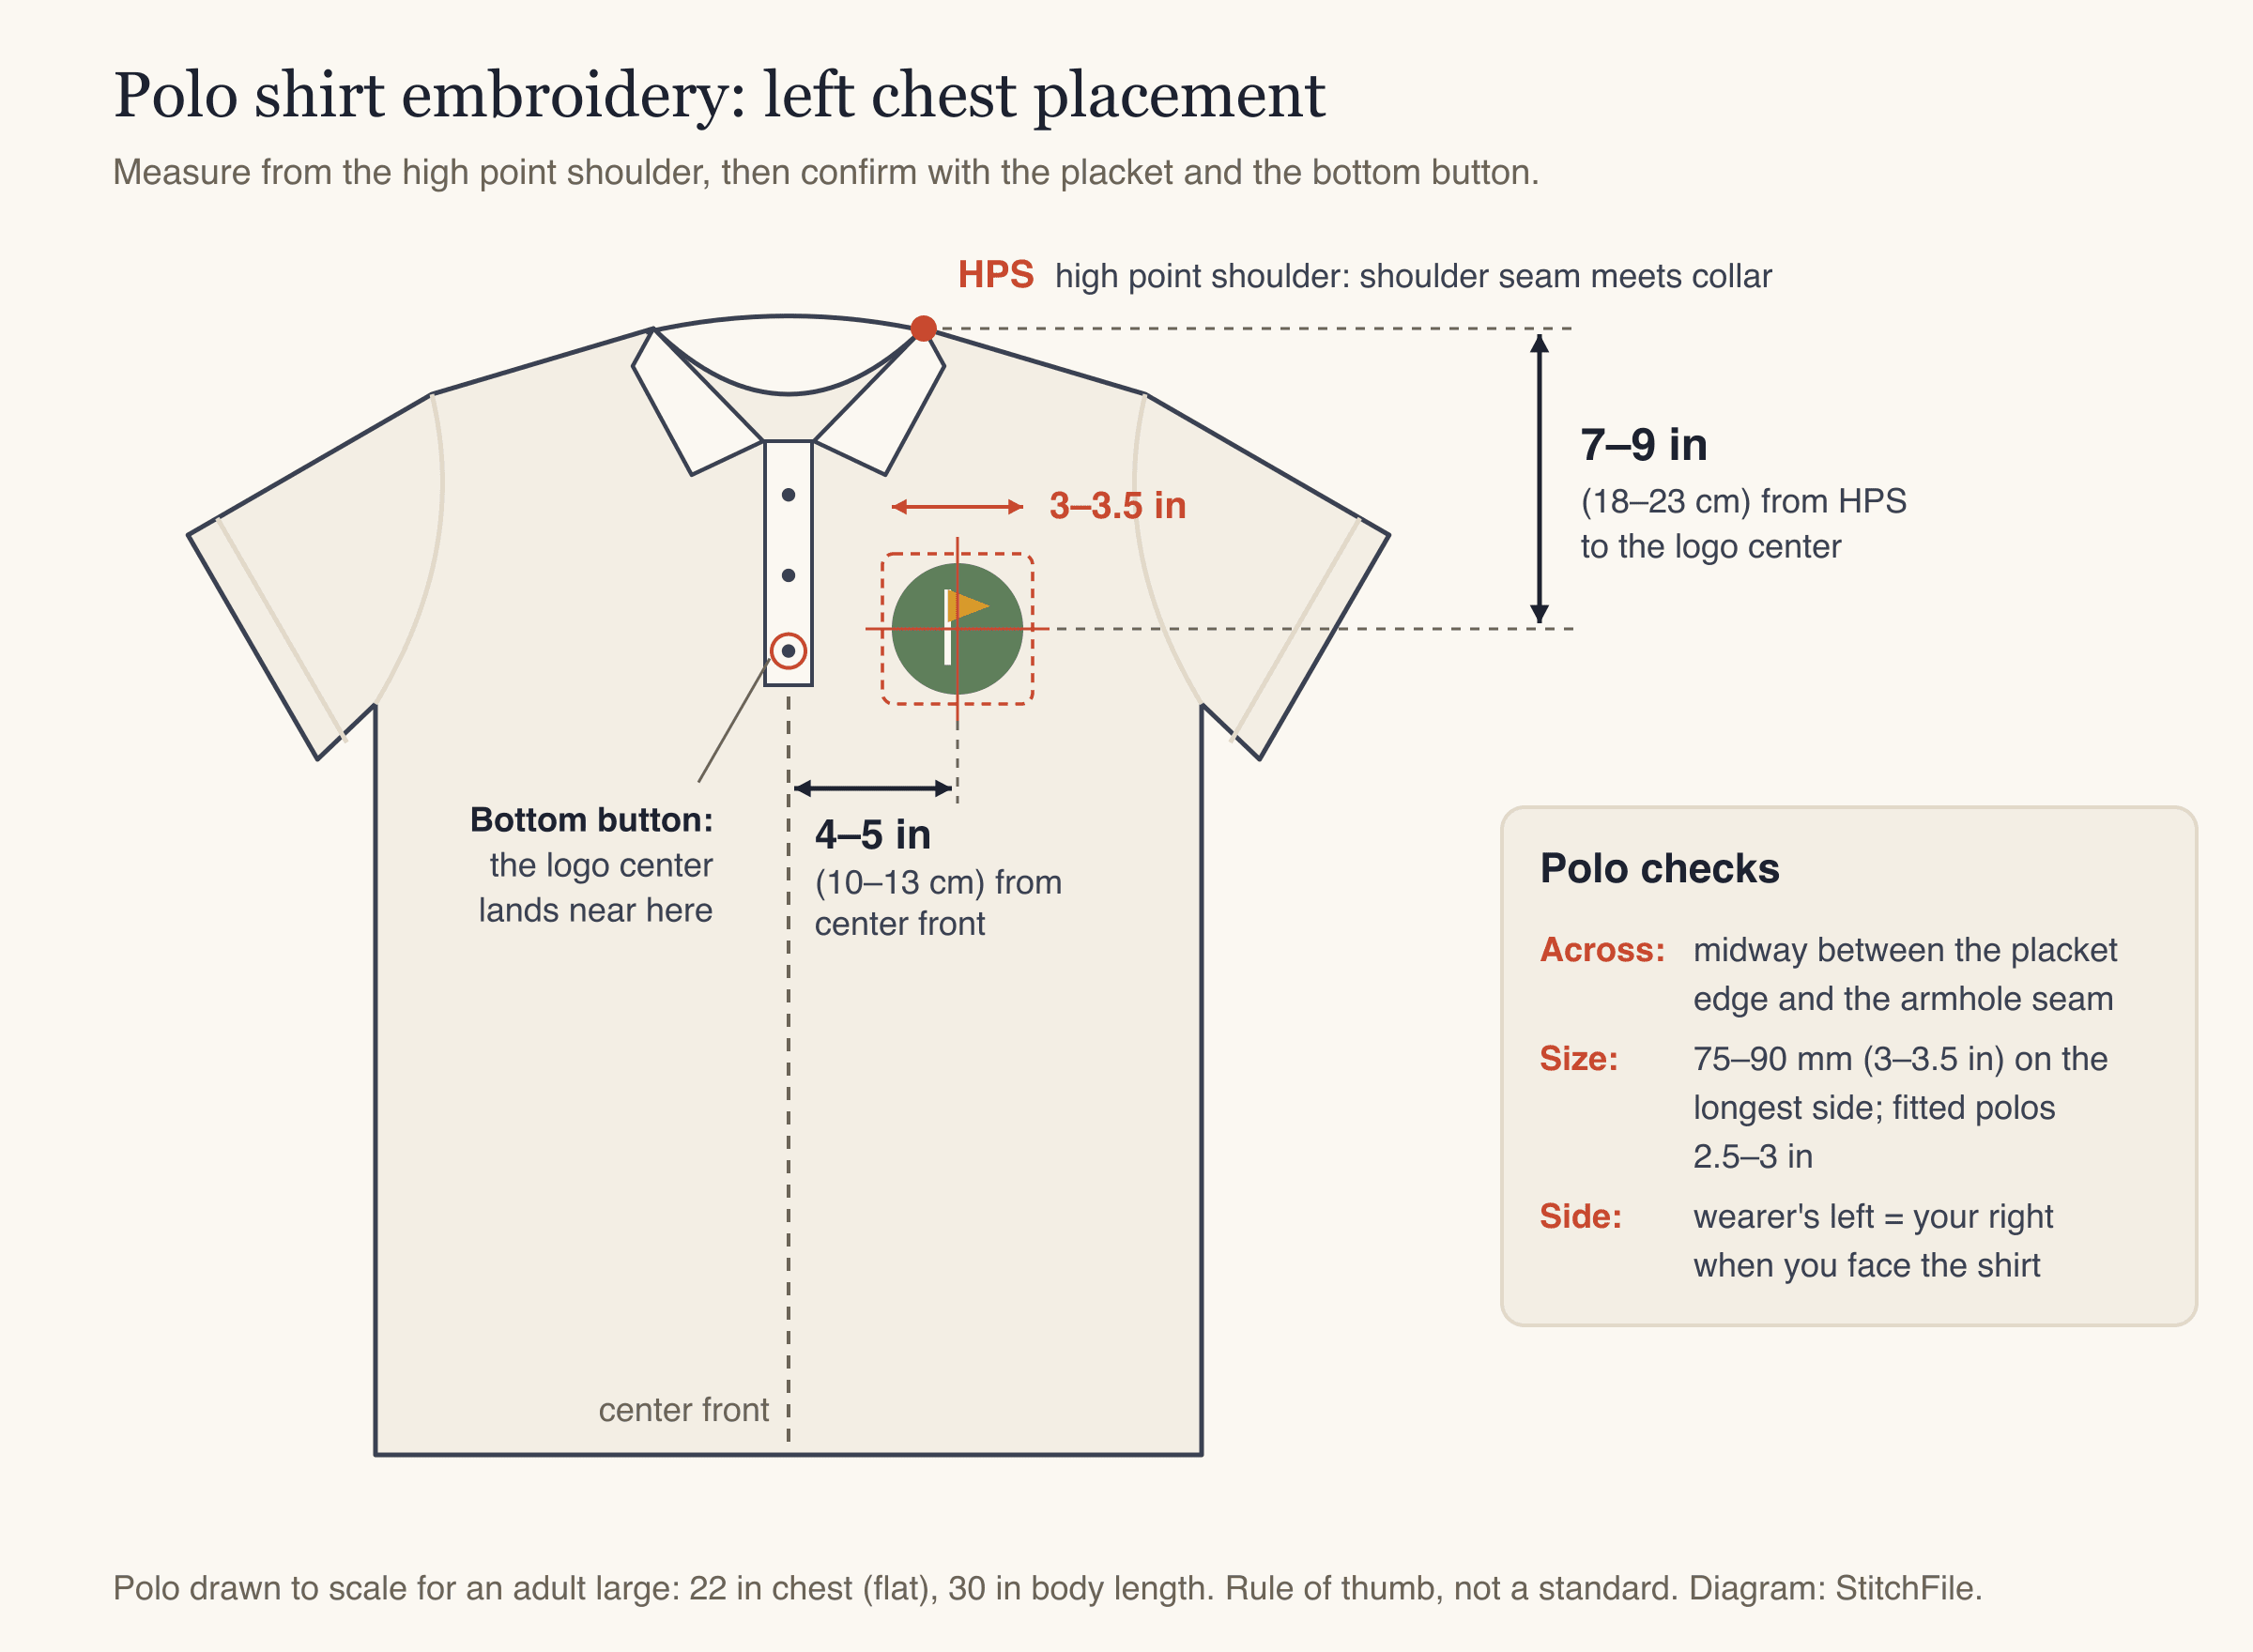
An adult large polo drawn to scale. The logo center sits 8 in below the HPS and 4.5 in from center front, midway between the placket and the armhole seam and level with the bottom button.
- Down: the logo center sits 7–9 in (18–23 cm) below the high point shoulder (HPS), where the shoulder seam meets the collar. About 7 in for S–M, 8 in for L–XL, 9 in for 2XL and up.
- Across: the logo center sits 4–5 in (10–13 cm) from center front (the middle of the placket), roughly midway between the placket edge and the armhole seam.
- Check by eye: the logo center usually lands near the bottom button. Left chest is the wearer's left.
| Placement | Typical size | Where it sits |
|---|---|---|
| Left chest | 75–90 mm (3–3.5 in) | Center 7–9 in below the HPS, 4–5 in from center front |
| Right chest (second logo, name) | 60–90 mm | Mirror of the left chest |
| Sleeve | 60–80 mm (2.4–3.1 in) | Outer sleeve, bottom edge 1–1.5 in above the hem or rib band |
| Nape | 1.5–2.5 in wide | 1–1.5 in below the back collar seam |
| Back yoke (text across the shoulders) | Up to about 10 in (250 mm) wide | Top edge 3–5 in below the back collar seam |
Keep sleeve logos clear of the rib band, which is thick and can deflect the needle. A full-width back yoke line needs an 8×12 in hoop and adds a lot of stitches, so check the sew time before you quote it.
Logo size and the small lettering limit on pique
A polo logo is usually 75–90 mm (3–3.5 in) on its longest side. Fitted and women's polos often look better at 2.5–3 in, so the logo doesn't crowd the placket.
The real limit is usually the smallest text. On pique, letters need to be at least about 6 mm (0.24 in) tall. Below that, strokes sink into the texture and the holes in letters like a, e and o fill in.
Worked example (hypothetical): a 90 mm logo has a tagline 4 mm tall. Reaching 6 mm would take a logo of 90 × 6 ÷ 4 = 135 mm, far too big for a chest. The better fix is a chest version without the tagline, with the tagline moved to the sleeve or back yoke. See embroidery lettering and fonts for more.
Why dense fills make pique wave
A big solid fill pulls hard on a knit and gathers the pique into a wavy ring around the logo, even with perfect hooping. To keep polo embroidery flat:
- Use lighter fill than you would on twill, over a good underlay (foundation stitches that anchor the fabric).
- Add pull compensation: shapes sewn slightly wider so they don't shrink inward as the thread pulls.
- Avoid big solid blocks, such as a filled badge background. Let the shirt color show instead.
How to embroider a polo shirt: step by step
1. Get a file made for pique
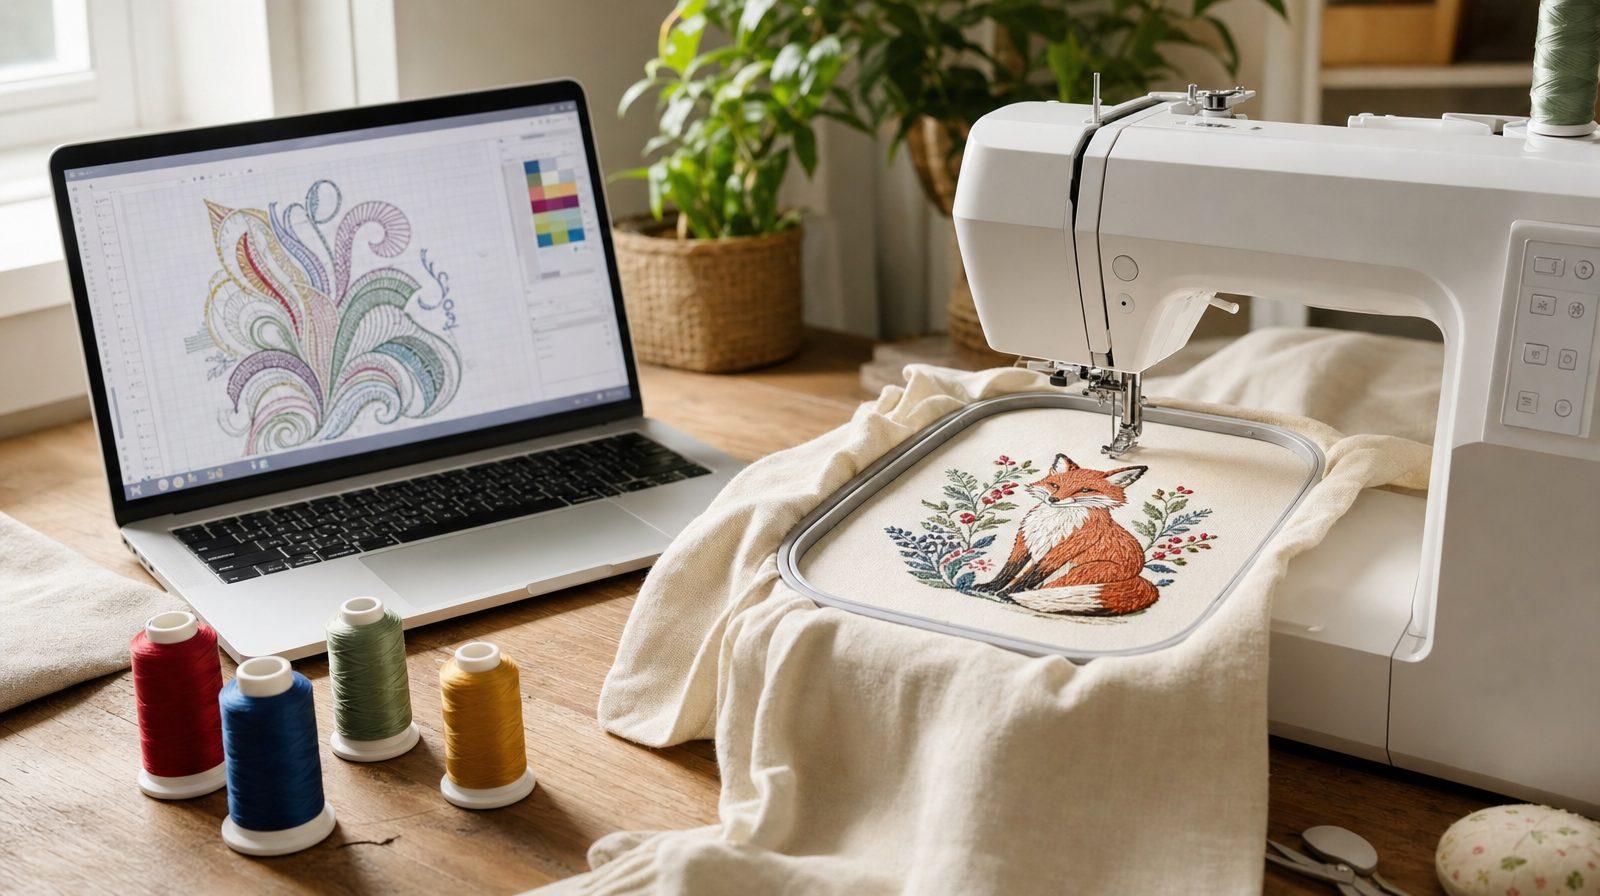
This is the step StitchFile handles. Upload your logo as SVG, PNG or JPG, choose the Polo piqué fabric and the Left chest (90 mm) preset, and in about 20 seconds you get a free stitch preview. The Polo piqué setting sews lighter fill rows than the woven setting, adds pull compensation for the stretch and lays a zig-zag underlay under satin lines and lettering. The color key recommends cut-away plus water-soluble topping, and the preview warns you about any lettering under 6 mm, with a size that would work.
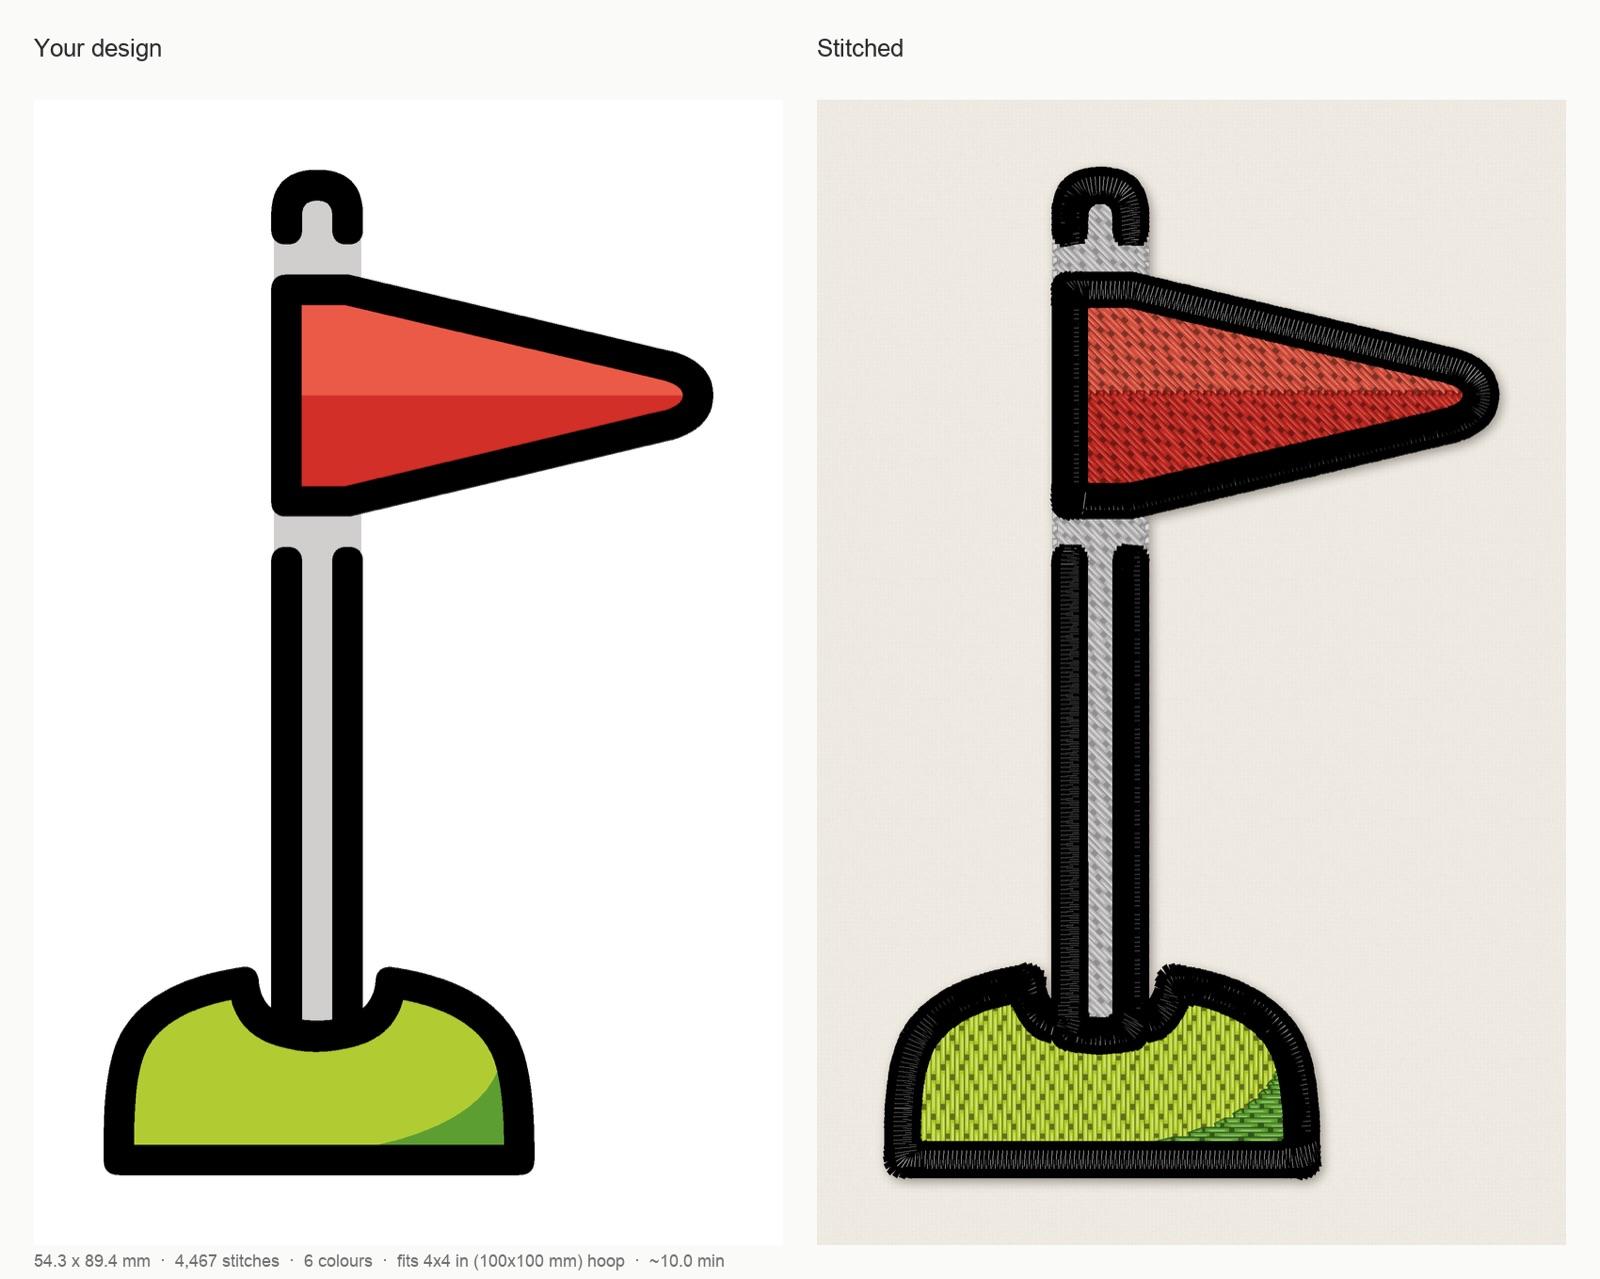
StitchFile stitch preview with the Polo piqué setting at the 90 mm left chest preset: 54.3 × 89.4 mm, 4,467 stitches, 6 thread colors, 11 trims, fits a 4×4 in (100×100 mm) hoop, about 10 minutes at 700 stitches per minute. The color key recommends cut-away stabilizer plus water-soluble topping.
Artwork: OpenMoji golf flag, CC BY-SA 4.0. StitchFile converted the artwork into the stitch preview shown here; these adaptations are shared under the same license.
The flag is tall, so the 90 mm (longest side) became its height. Every download includes PES, DST, JEF, EXP and VP3.
2. Prepare and mark the shirt
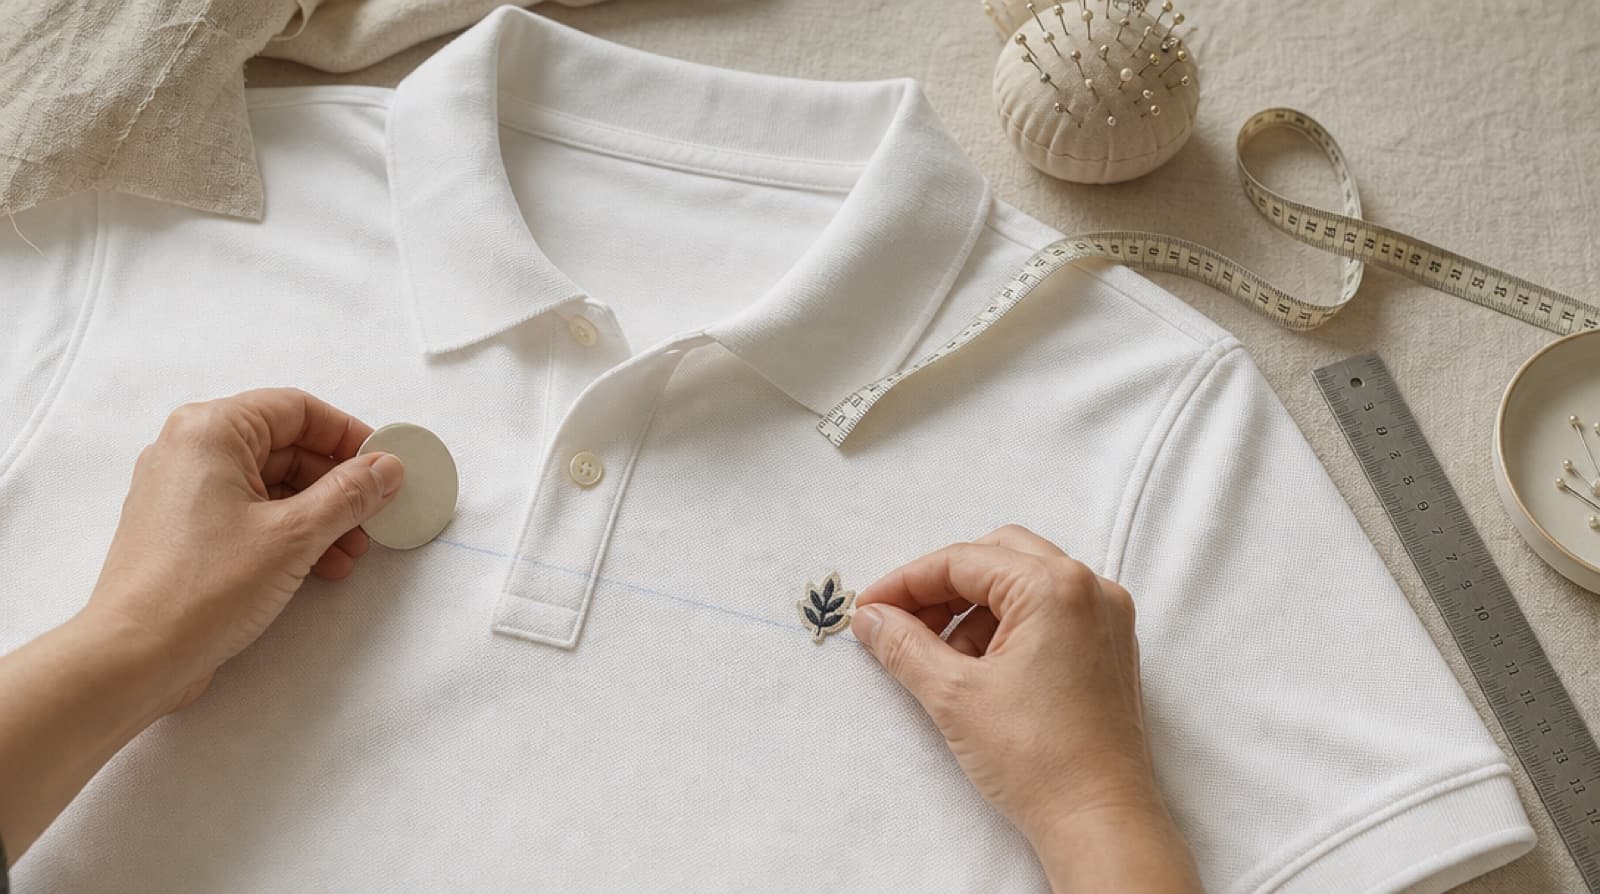
Wash and dry a one-off cotton polo first so later shrinkage can't pucker the logo. Button it, lay it flat, measure from the HPS and the placket, and pin a real-size paper print of the logo on the spot. Check it on a person, then mark long crosshairs with a water-soluble pen.
3. Unbutton the placket and add stabilizer
Unbutton the placket all the way, so the front can lie flat. Reach in from the hem and attach cut-away at least 1 in bigger than the hoop on every side behind the mark. A light mist of spray adhesive stops the layers sliding apart, which causes gaps between colors.
4. Hoop through the bottom of the shirt
- Loosen the outer ring of the smallest hoop that fits (usually 4×4 in) and lay it on a table.
- Slide the polo over it from the bottom hem, so the ring sits inside the shirt, under the front only.
- Line up the crosshairs with the hoop's center marks, stabilizer between ring and shirt.
- Press the inner ring in, smooth the pique from the center out and tighten the screw.
- The stabilizer should be drum-firm and the pique smooth but not stretched. If the texture looks pulled out of shape, re-hoop.
If the ring lands on the thick placket edge, shift the hoop slightly toward the armhole and re-center the design on the machine.
5. Or float it on sticky stabilizer
For polos that are awkward to hoop or show hoop marks: hoop sticky (adhesive) stabilizer paper side up, score and peel the paper, and press the polo onto it on its crosshairs. Add no-show mesh behind the design so it keeps cut-away support, and run a basting box (a loose outline stitch) first if your machine has one.
6. Add topping and clear the back
Lay water-soluble topping over the design area. Attach the hoop, then fold the back, sleeves and collar away from the needle and clip them. Run a hand under the hoop: only the front and the stabilizer should be there. Stitching the front to the back is the classic ruined polo.
7. Stitch and finish
Fit a fresh ballpoint needle and trace the design to check the presser foot clears the placket. Sew in color-key order and watch the first color; a slower speed helps on thin polyester. Afterwards, tear off the topping and dab the rest away with a damp cloth. Trim the cut-away about 1/4 in from the stitching with rounded corners, and steam any hoop ring lightly from a short distance.
Performance polyester polos
Moisture-wicking polyester polos need a lighter touch:
- Heat: polyester can go shiny under a hot iron. Use spray adhesive instead of fusing, or a low setting with a pressing cloth.
- Hoop marks: hoop just firmly enough, or float on sticky stabilizer.
- Stabilizer: no-show mesh cut-away suits the thin, drapey fabric.
- Density: keep fills light. On the StitchFile website, Density → Light sews softer, quicker fill for thin fabric.
- Needle: a fresh ballpoint, 75/11 or a finer 70/10. A worn needle snags the fibers and leaves pulls.
Corporate and uniform orders: getting every polo the same
A uniform order is judged as a set: one logo an inch lower shows when the team stands together.
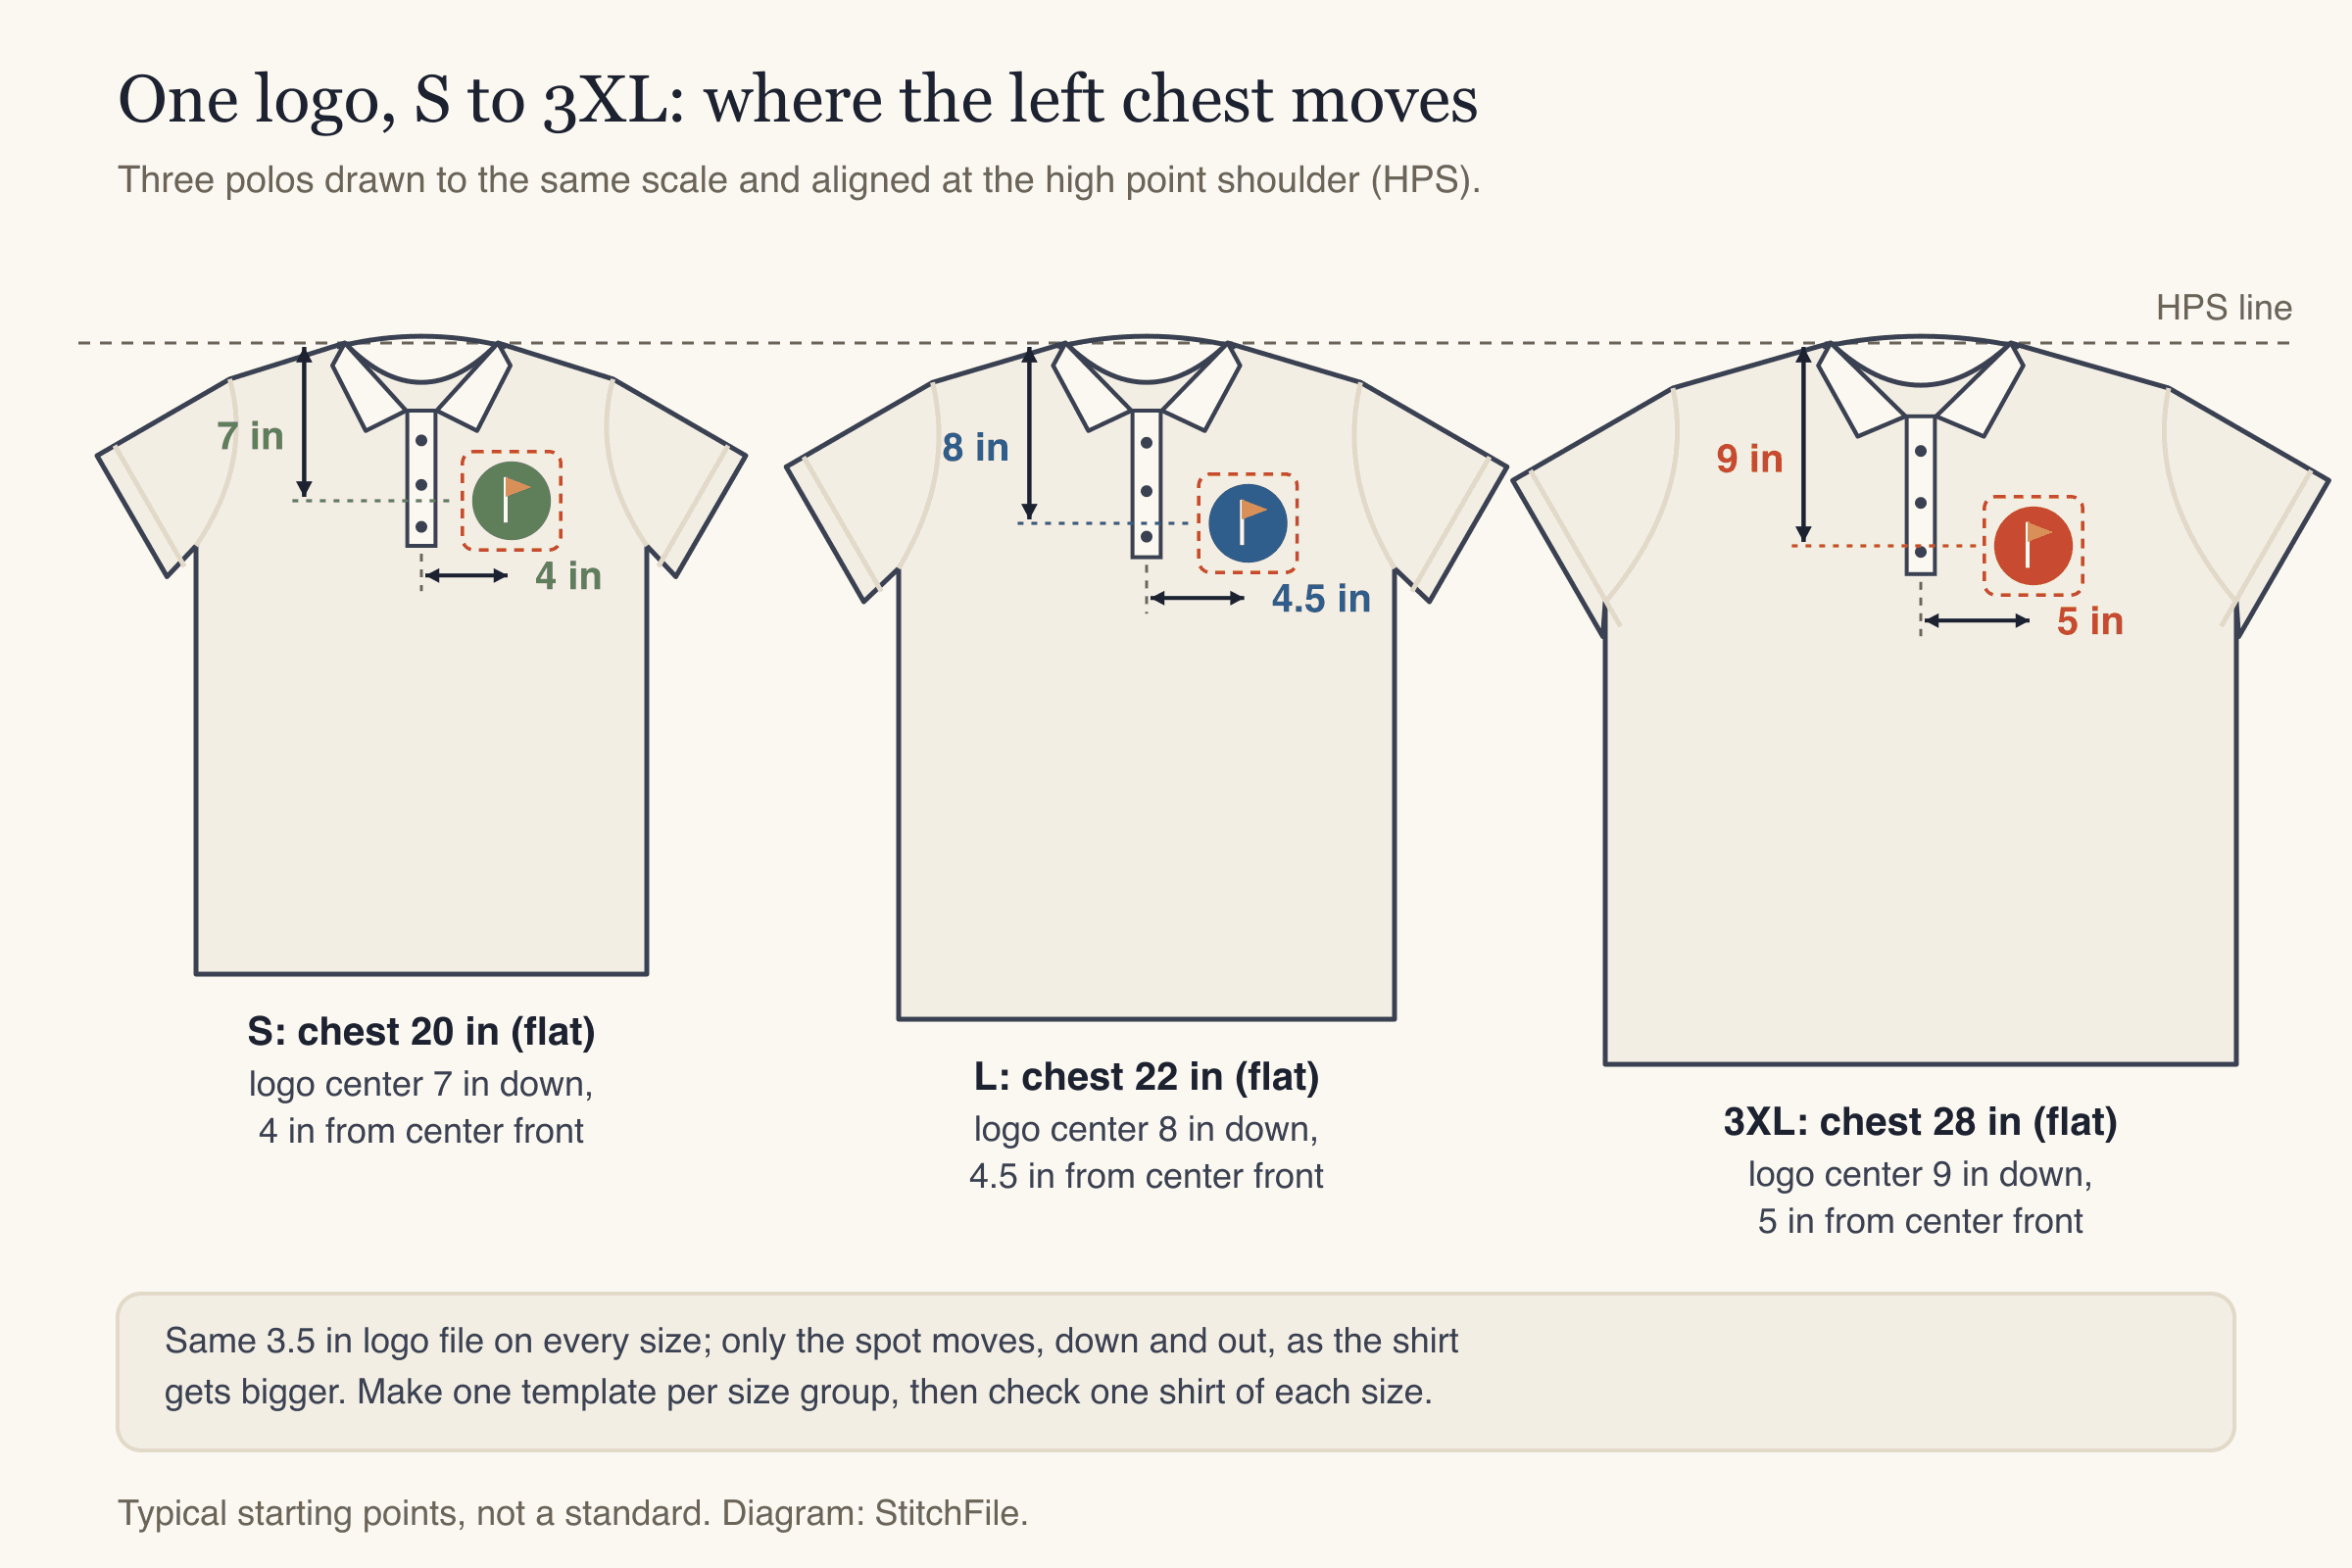
The same logo file on three sizes. The spot moves down and out as the shirt gets bigger; the logo size stays the same.
| Size group | Logo center below HPS | From center front |
|---|---|---|
| S–M | about 7 in | about 4 in |
| L–XL | about 8 in | 4–4.5 in |
| 2XL–3XL | about 9 in | 4.5–5 in |
- Sort by size and use one position per size group (table above). These are common starting points, so check one shirt of each size on a person first.
- Make a placement template per size group: card with the logo outline, a notch for the HPS and a line for center front. Mark every shirt through it.
- Keep one logo size across S–3XL. For youth polos, use a separate smaller file rather than shrinking it on the machine, which spreads or crowds the stitches.
- Write down the setup (hoop, stabilizer, topping, needle, thread and bobbin colors) for reorders.
- Test first on a spare polo of the same fabric, and order a few spare blanks. Unpicking pique leaves holes.
On StitchFile, embroidering polos for customers is commercial use, which needs Pro ($19/month, 25 designs) or Shop ($49/month, 100 designs). For a smaller youth version, "Try another size or fabric" is free for 7 days after you buy the design.
Choosing thread colors for polos
- Contrast decides readability. White or gold on navy and black; navy or black on white. Tone-on-tone looks subtle, but small text disappears.
- Light thread on dark pique can let the shirt show through. In StitchFile, set the garment color when you upload and threads that stand out against it are sewn fuller; Density → Fuller adds more cover.
- Match the bobbin. With dark thread on a light polo, or light on dark, a bobbin thread close to the top color hides any that pulls up.
- Brand colors: Change colours in StitchFile swaps any color for one of 64 Brother threads. Check a real spool against the shirt in daylight.
Common mistakes
- Tear-away instead of cut-away. The logo puckers after a few washes.
- No topping on small text. Letters sink and blur. Add topping and keep letters 6 mm or taller.
- A heavy, solid design. Dense fills make pique wave. Use a file set up for pique.
- Hooping with the placket buttoned. The front won't lie flat and the logo tilts.
- Stitching through the back. Check under the hoop every time.
- One position for every size. Use size groups and templates.
- A hot iron on polyester. Shiny marks don't come out.
More fixes are in our machine embroidery troubleshooting guide.
FAQ
What stabilizer is best for polo shirt embroidery?
Cut-away, because pique is a knit and needs support that stays in the shirt. Use no-show mesh on light cotton and performance polyester polos, and medium cut-away on heavier pique. Add water-soluble topping for small lettering and fine detail.
Do I need topping when embroidering a polo shirt?
For most pique polos, yes. The raised texture lets stitches sink between the cells, which makes satin edges ragged and small text hard to read. Water-soluble topping keeps the stitches on top and is removed afterwards.
Where do you put a logo on a polo shirt?
On the wearer's left chest, with the logo center 7–9 in below the high point shoulder and 4–5 in from center front. That is roughly midway between the placket and the armhole seam, near the level of the bottom button.
What size should embroidery on a polo shirt be?
A left chest logo is usually 75–90 mm (3–3.5 in) on its longest side, and fitted polos often use 2.5–3 in. Text in the logo should be at least about 6 mm tall on pique, or it will blur.
What needle should I use to embroider a polo?
A ballpoint embroidery needle, usually 75/11. The rounded tip slips between the knit loops instead of piercing them, which prevents holes. On thin performance polyester, a finer 70/10 ballpoint is a common choice.
Can I embroider polo shirts on a home embroidery machine?
Yes. A left chest logo fits a 4×4 in hoop, which most single-needle home machines have. Unbutton the placket, hoop the front through the bottom of the shirt or float it on sticky stabilizer, and keep the back clear of the needle.
Make a polo-ready file
Stabilizer, topping and hooping solve most polo problems, but a design digitized for twill or denim will still be too heavy for pique. Upload your logo to StitchFile, choose Polo piqué and the Left chest preset, and check the free stitch preview before you buy: stitch count, sew time, smallest hoop and any lettering that's too small. The download includes all five machine formats and a thread color key. For how artwork becomes stitches, read how to digitize a logo for embroidery.